I recently moved from an apartment on a noisy street to a different apartment a few blocks away on the same noisy street. I have wanted to work on a few musical projects that involve recording live instruments, vocals, etc, for some time. The loud nature of my living quarters has made this impossible. In my studio in the new apartment, however, is a rather large closet measuring 5.5' x 4' x 8.5'. It is not luxurious, but it is more than sufficient for a vocal/small recording both provided it is treated properly. To get it to a useable state, it will require some bass traps around the sides, some treatment on the door, and foam around the sides and on the ceiling.
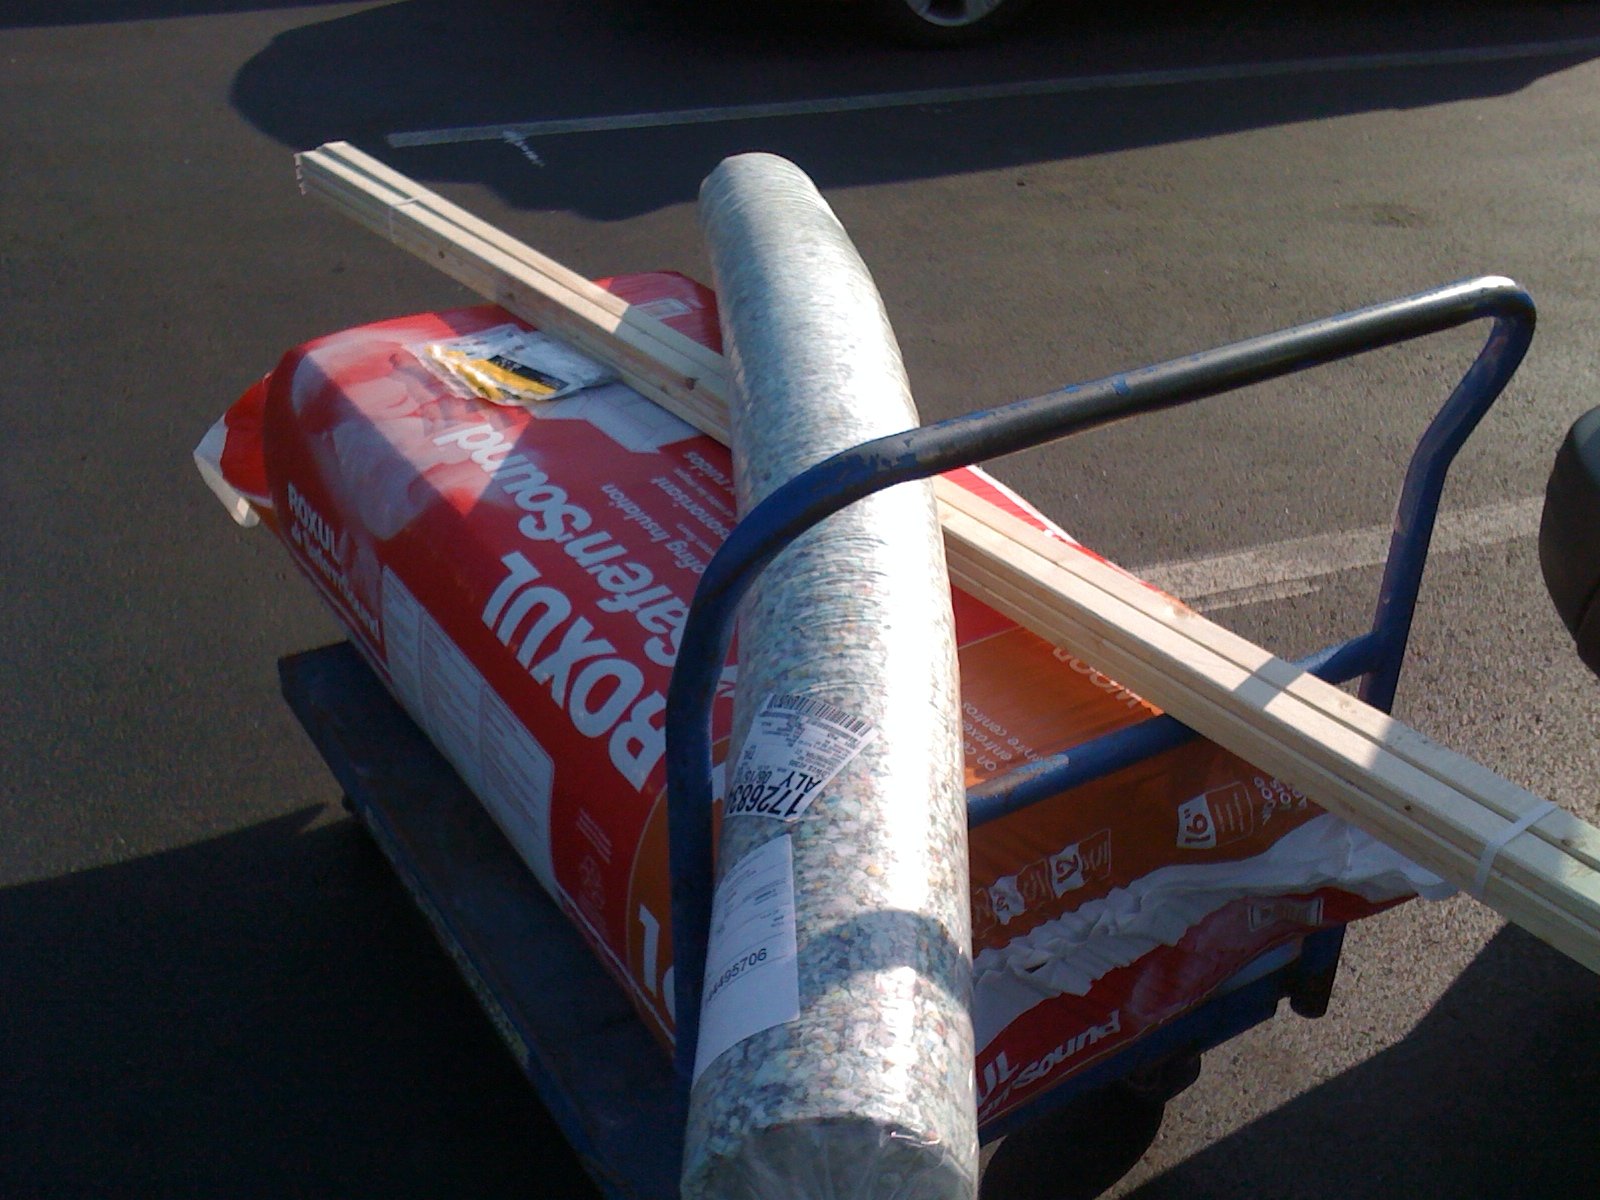
To get all the treatments from a professional company would be enormously expensive. Fortunately, you can build all of this stuff yourself provided you have the time and the tools. Having the time and MakeHaven having the tools I decided to make this happen. The materials are pretty easy to get. I got mine at Lowes. You may get yours where you please. Here's what I need to make 4 2'x4' basstraps for the 3 walls.
- Roxul Rock Wool (Safe'n'Sound) $39
- Carpet batting (6'x9') $29
- 6 2''x.5''x8' furring strips $6 (no kittens were harmed in the production of these strips)
- 4 bags of L brackets 8$
- 4 yards of black crafting felt $15-$20
The Roxul only comes in a giant bag, and I will have a lot left over for other projects, or to stuff into walls somewhere. Rock wool, stone wool, mineral wool, etc, are all equivalent here. Density = absorption of low frequencies -- the denser the wool, the better the low frequency absorption. The stuff I got is not as dense as some others, so I expect it will not absorb low frequencies as well, but I needed more broadband absorption, so I went with the lighter stuff. Also, the "Safe'n'Sound" product line is specifically for dampening so...
Next, enter phase 1: the basstrap.
Phase 1: the basstrap
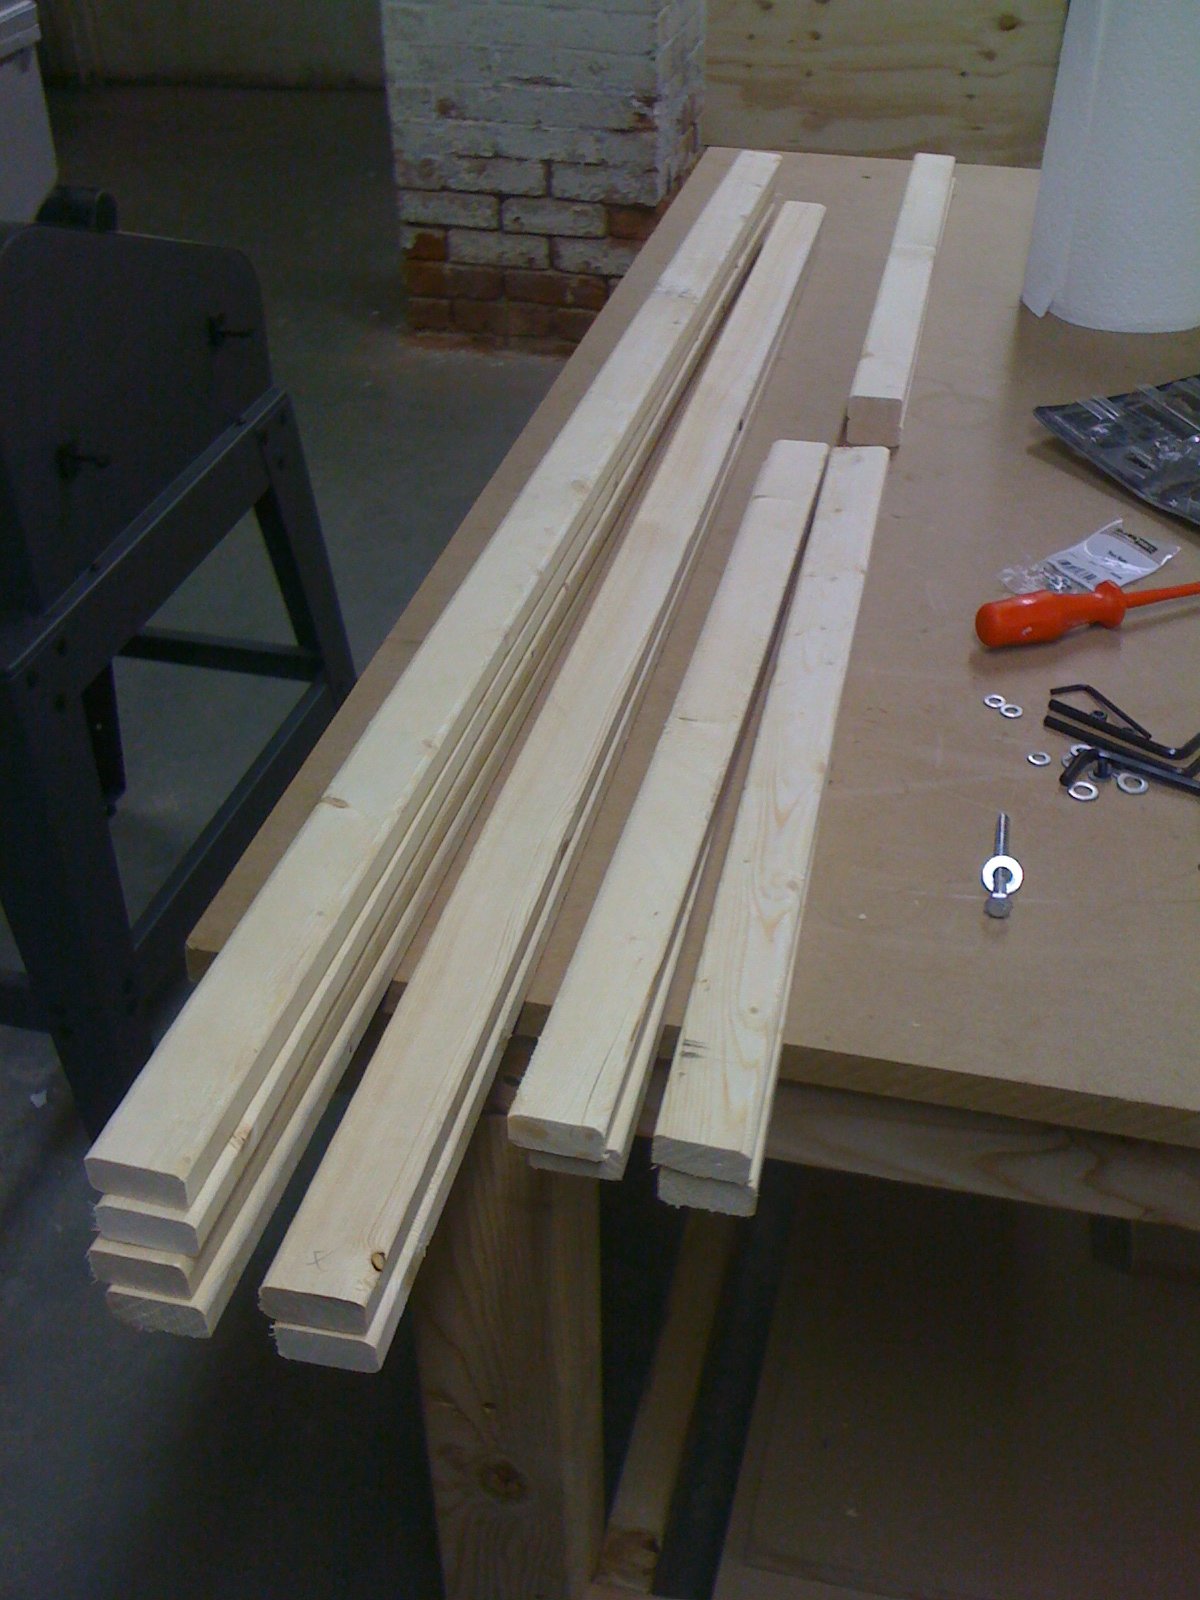
First, I had to be trained on this:
Once that was accomplished thanks to the superior training of Mike (holla!) I was able to do this:
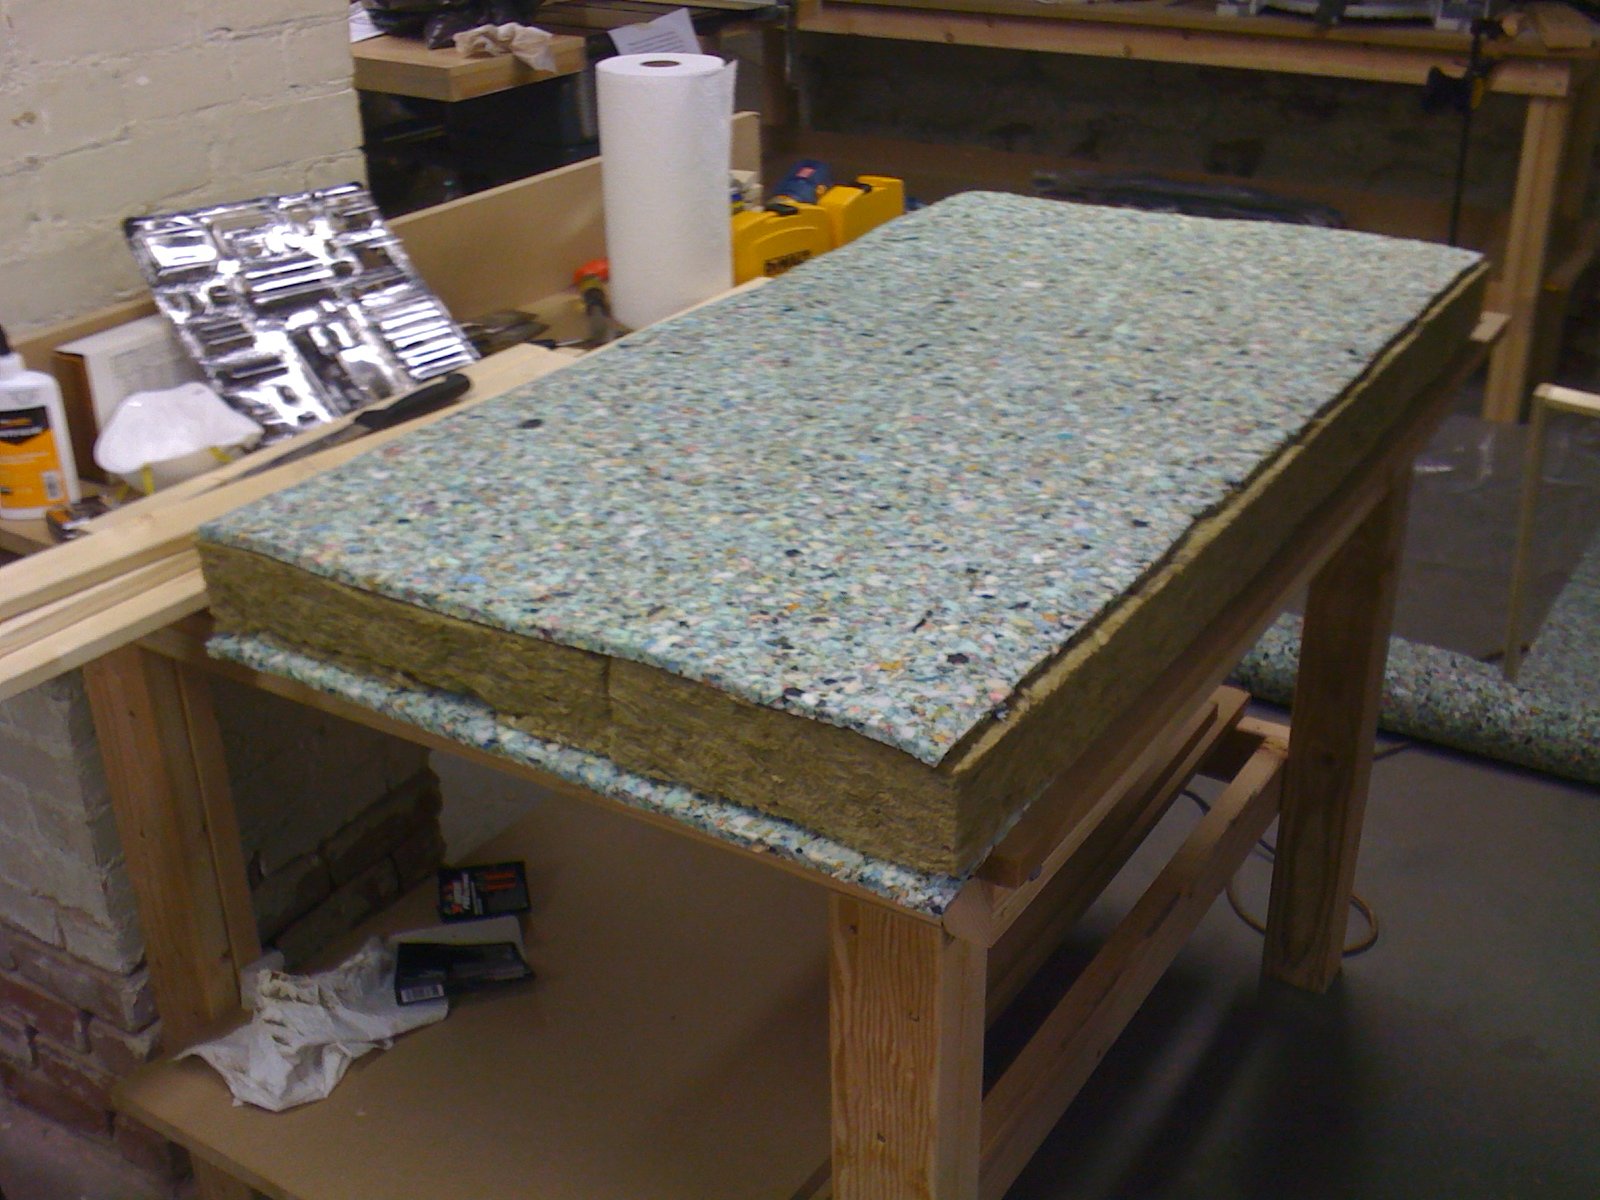
The above pieces are cut to 24'' and 46'' respectively. This is so the two .5'' furring strips added to the 46'' side pieces of the frame add up to 47'' which is the length of the rockwool. I attached the pieces so that the 2'' sides create a buffer of air between the batting and the wall. I attach them with staples to keep them still then screw on the L brackets. Next I side up the batting and cut it to shape.
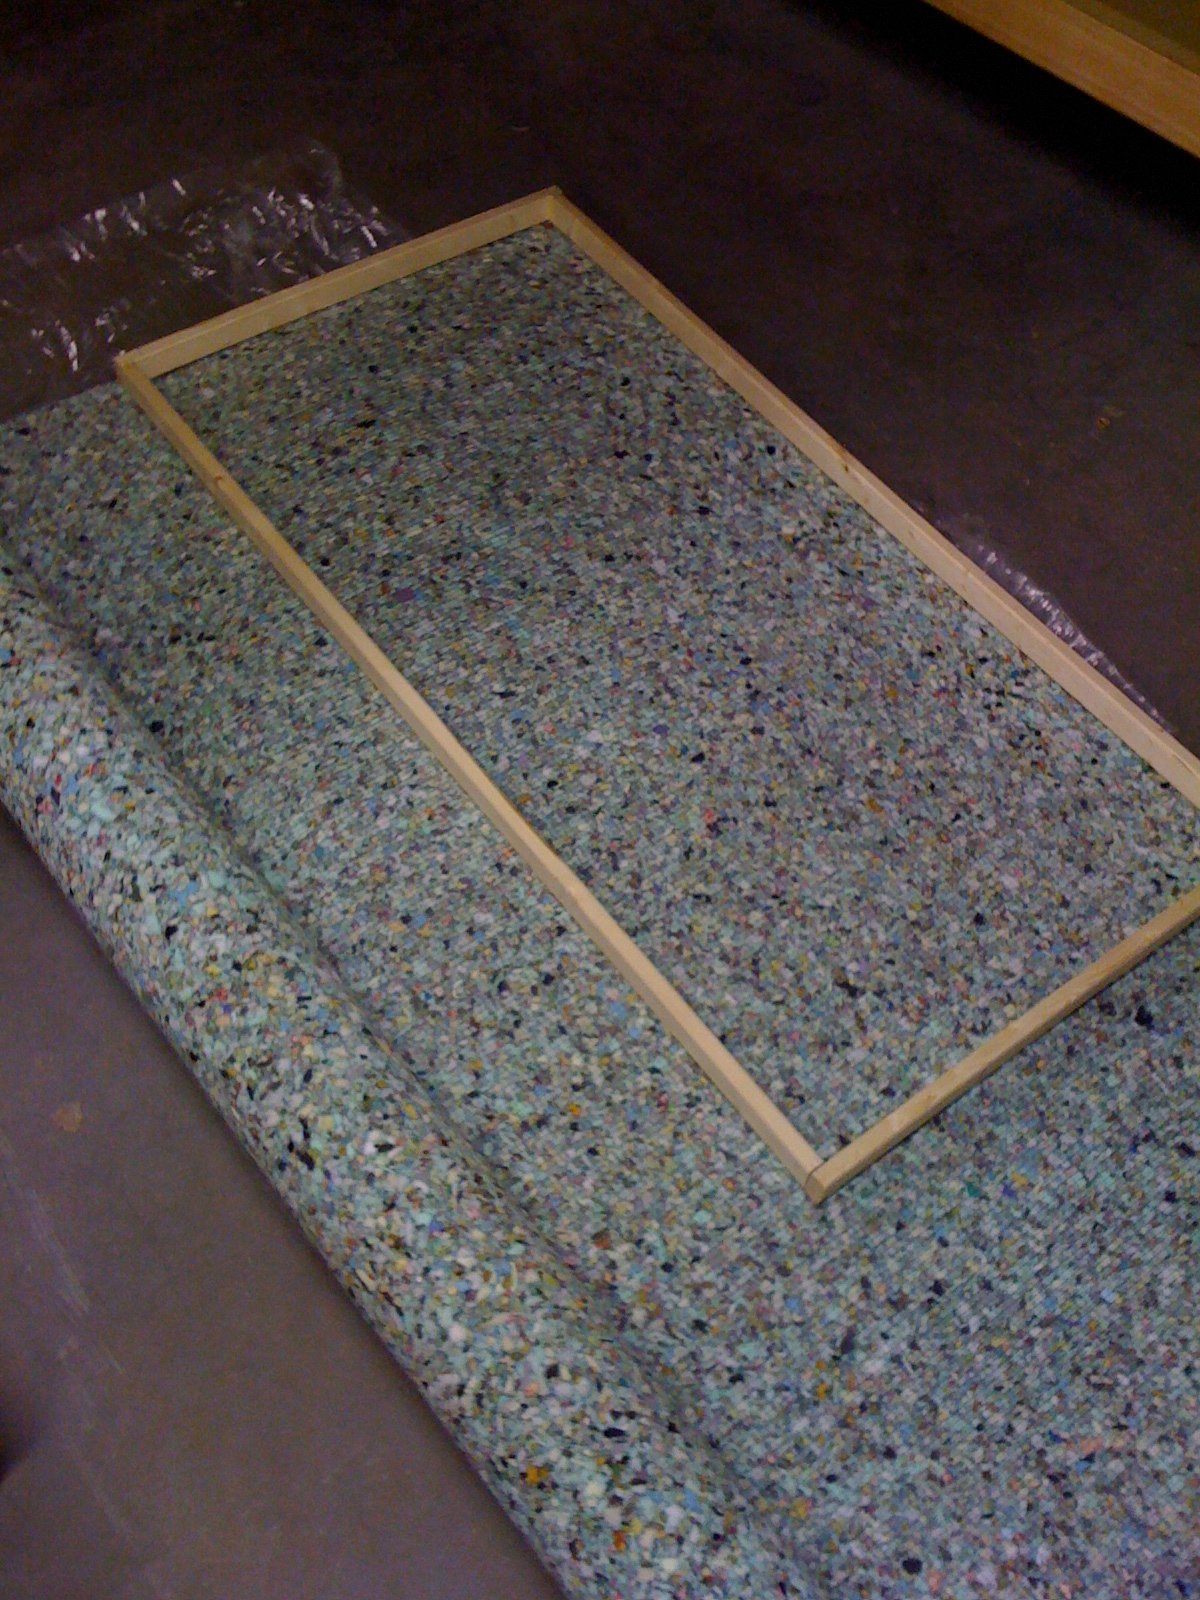
The carpet batting is easily cut to shape using scissors. Next I prepare for cutting the rockwool.
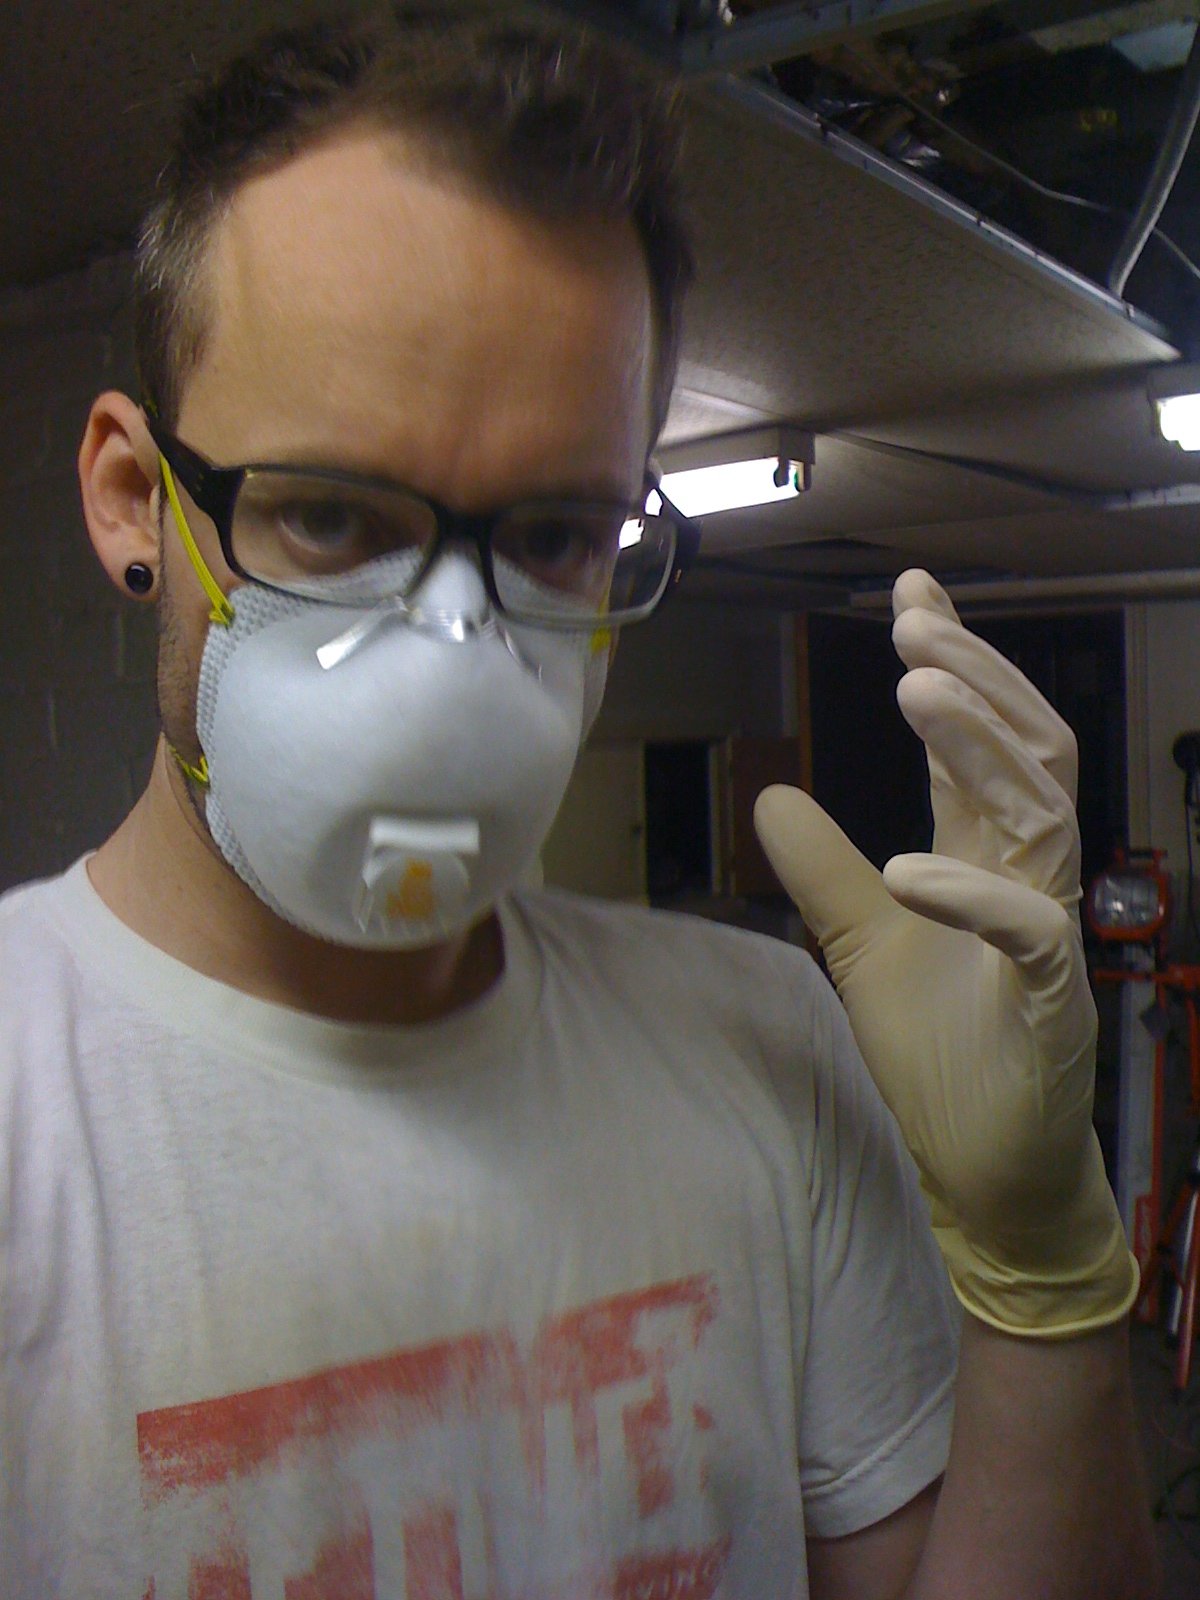
Remember kids: everything is fun and game until you get a lung-full of fibers. (Rockwool is not classified as carcinogenic to humans and is safe to handle without gloves. I take precautions, however, and always wear a mask when cutting fibrous nasties.)
Here is the rockwool sandwich (google's next iteration of Android OS?) Note the rockwool is puffing out the side a little. This is totally fine and good. It is easily compressed, but maintains its shape well.
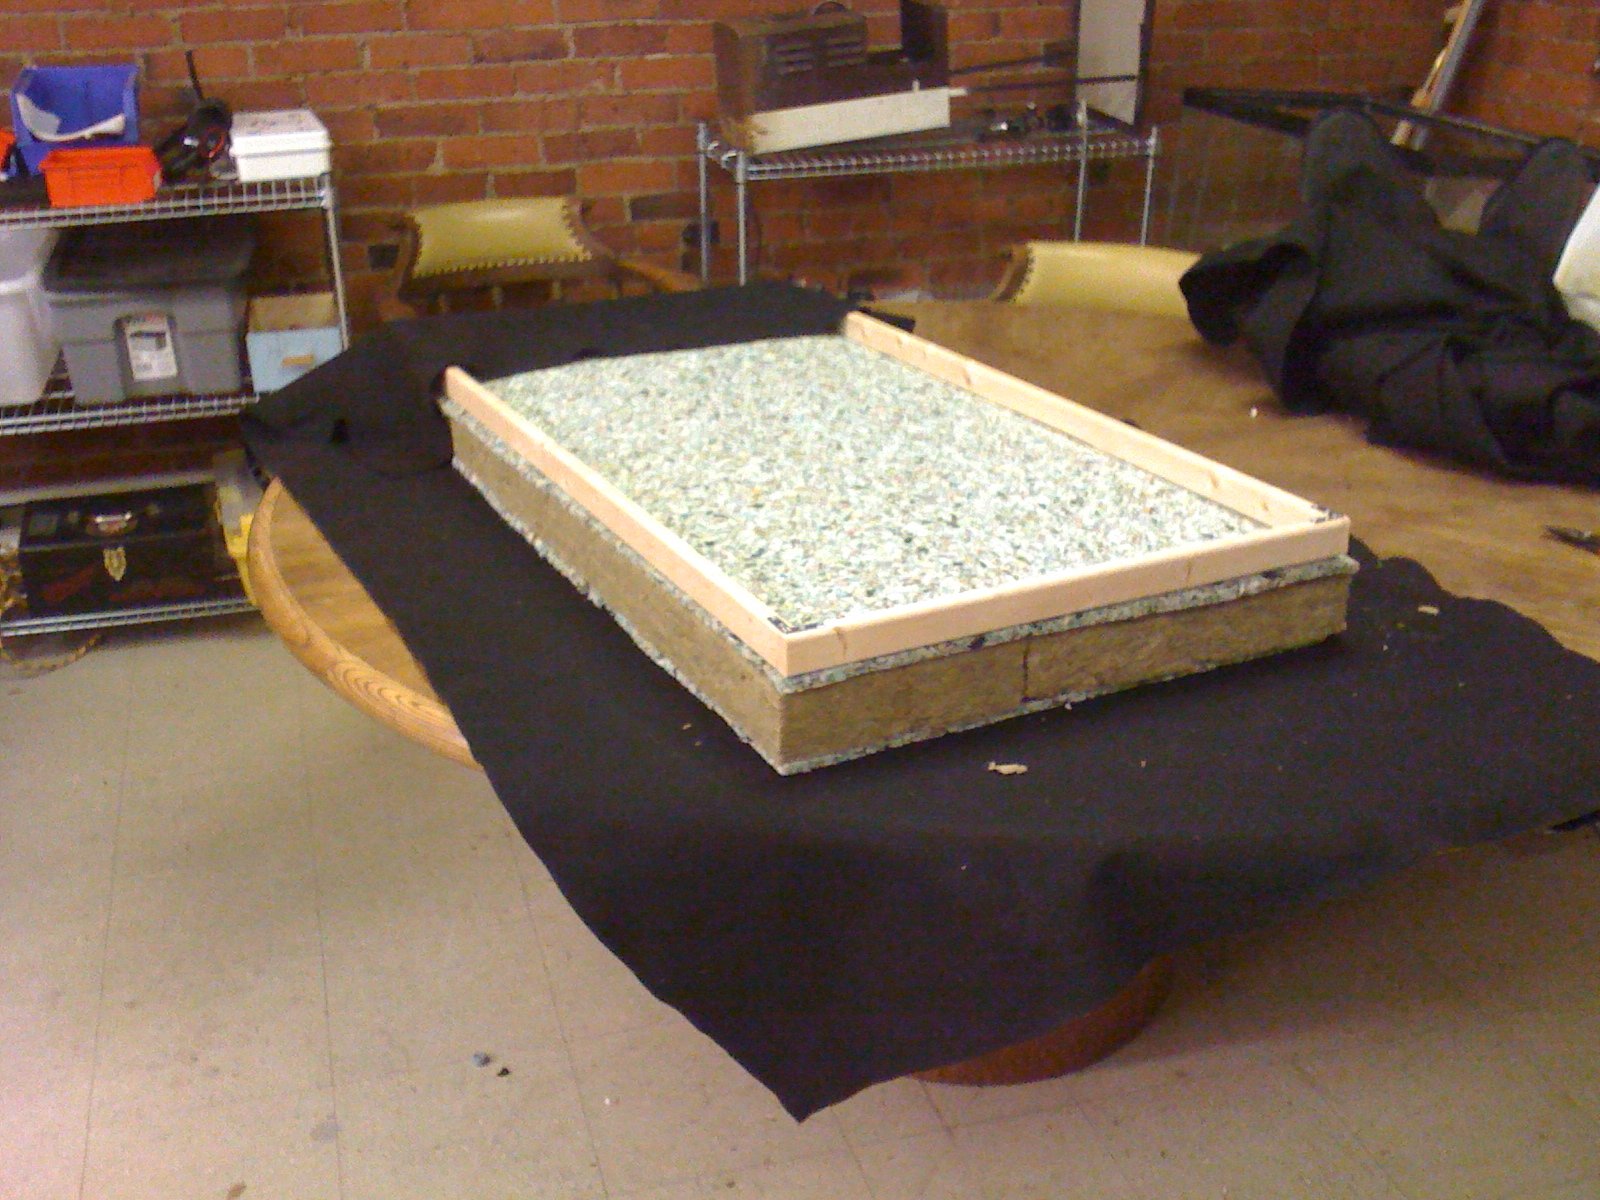
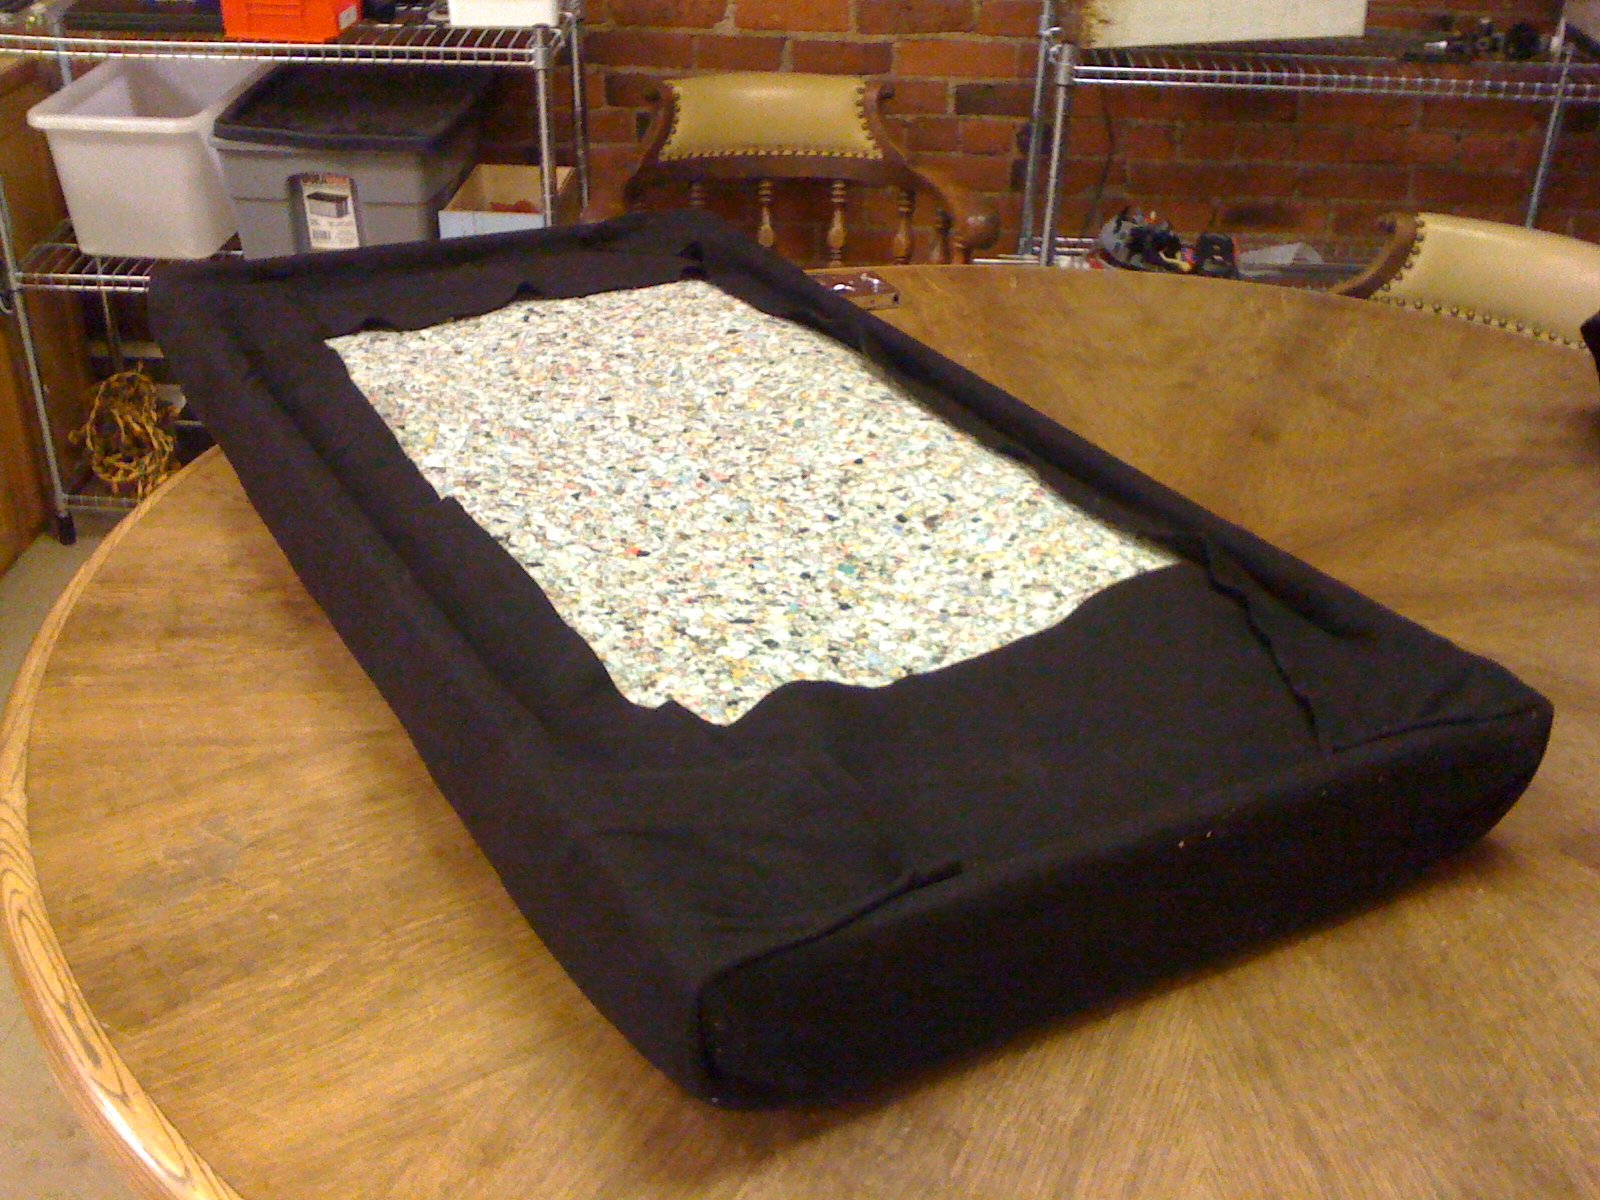
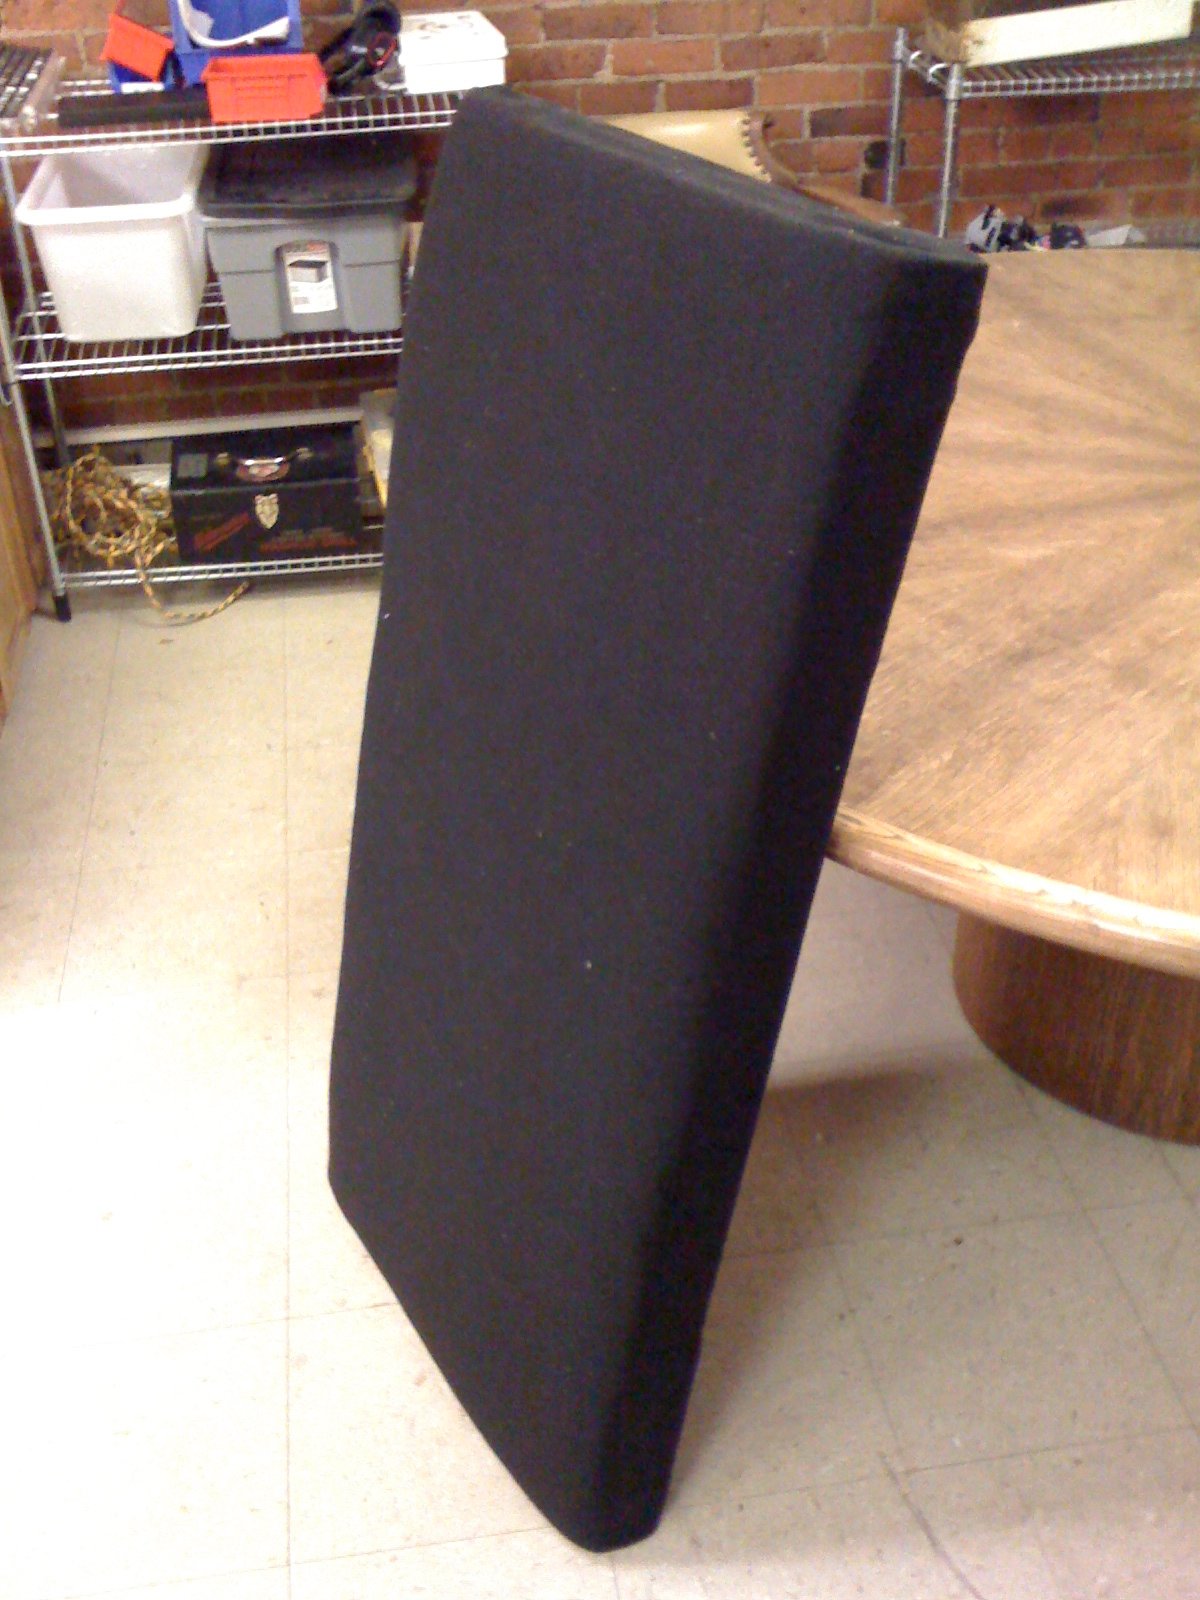
Here's the RoxulSandwich (non-edible) with the frame on the backside on the felt. Next, I just evenly pull the felt taut around the frame and staple it at the back.
Note the felt is the only thing keeping the sandwich attached to the frame. The rockwool and batting are pretty light, so affixing the insulation to the frame is not necessary. However, in the second iteration, I will be using a spray adhesive to glue the layers of batting to the rockwool. The air in between the layers is not problematic, in fact it's good for absorption. However, I want the whole package to be a little tighter and easier to transport so I'll use the adhesive on the next one.
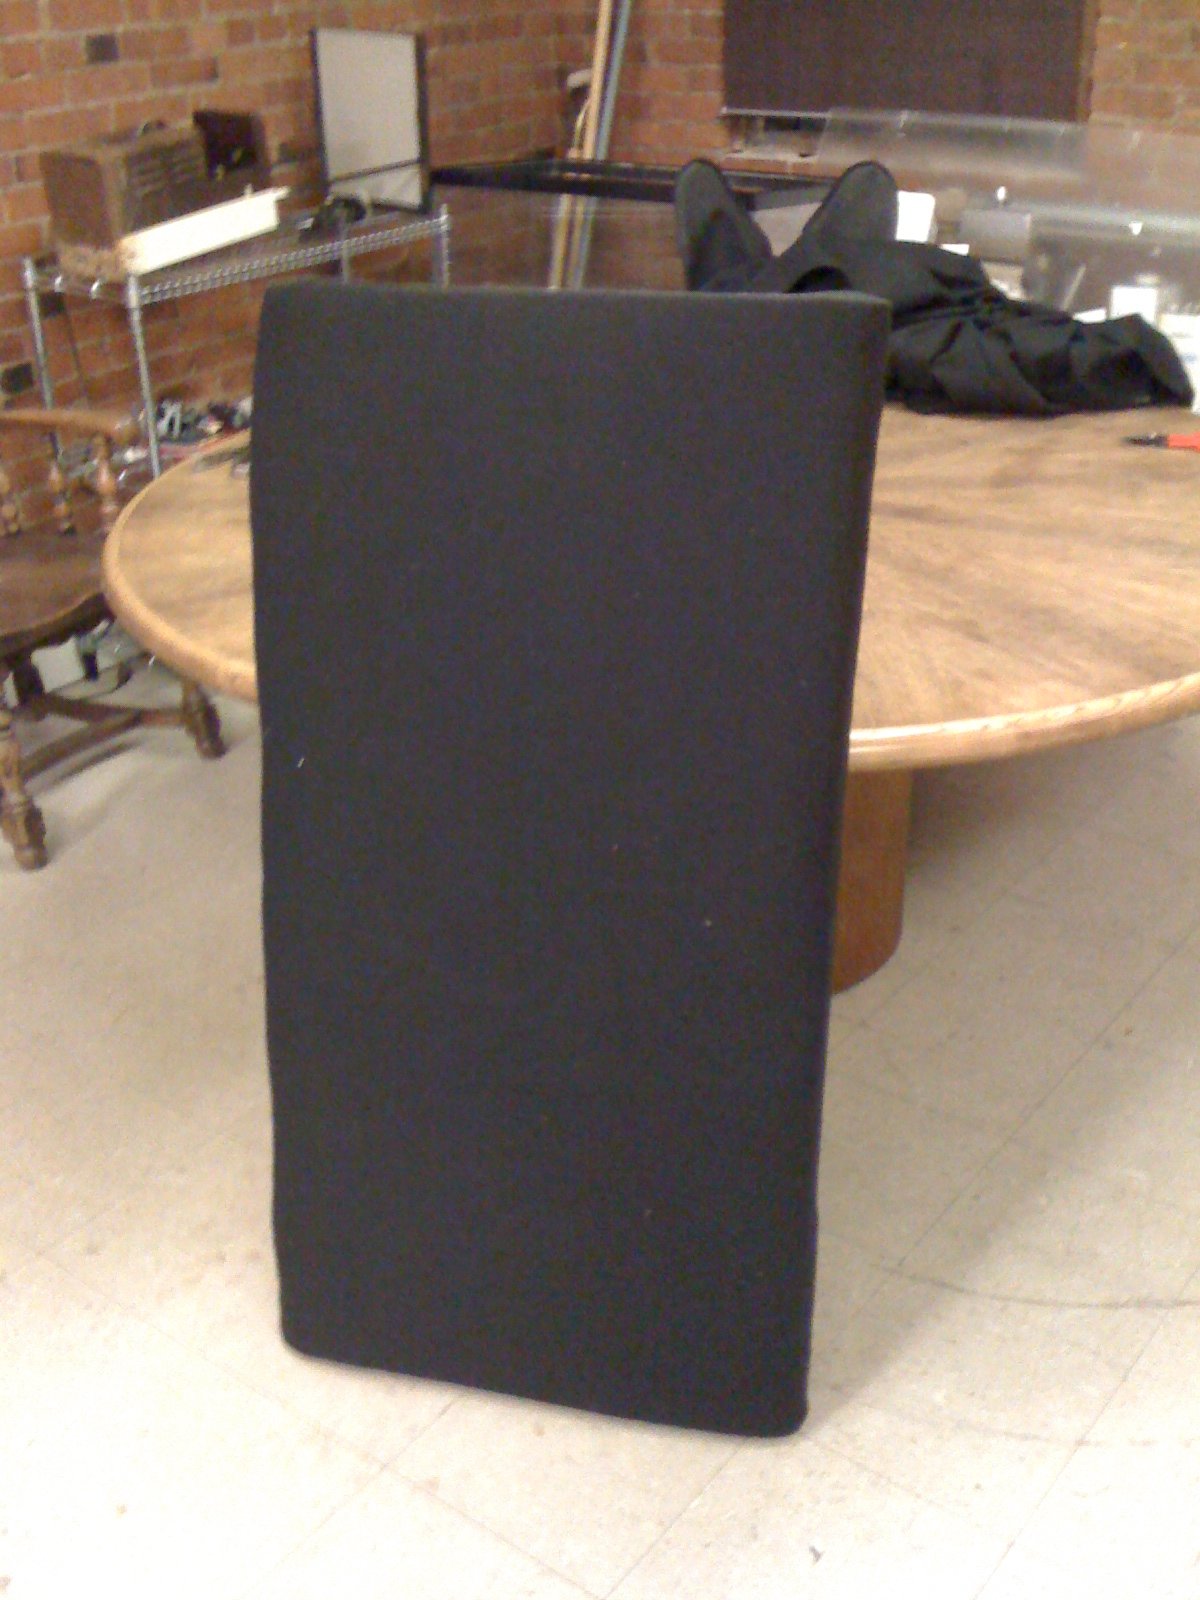
After some dust/lint removal these babies will be ready to hang. I will simply hang them from the top of the frame about 4.5' off the ground using screws that I've drilled into a moulding which runs around the closet. In the absence of the moulding, I would have to find studs and use those. (please no horse jokes)

Comments
Scott,
If you remember the "Station"
Thank you for that wonderful