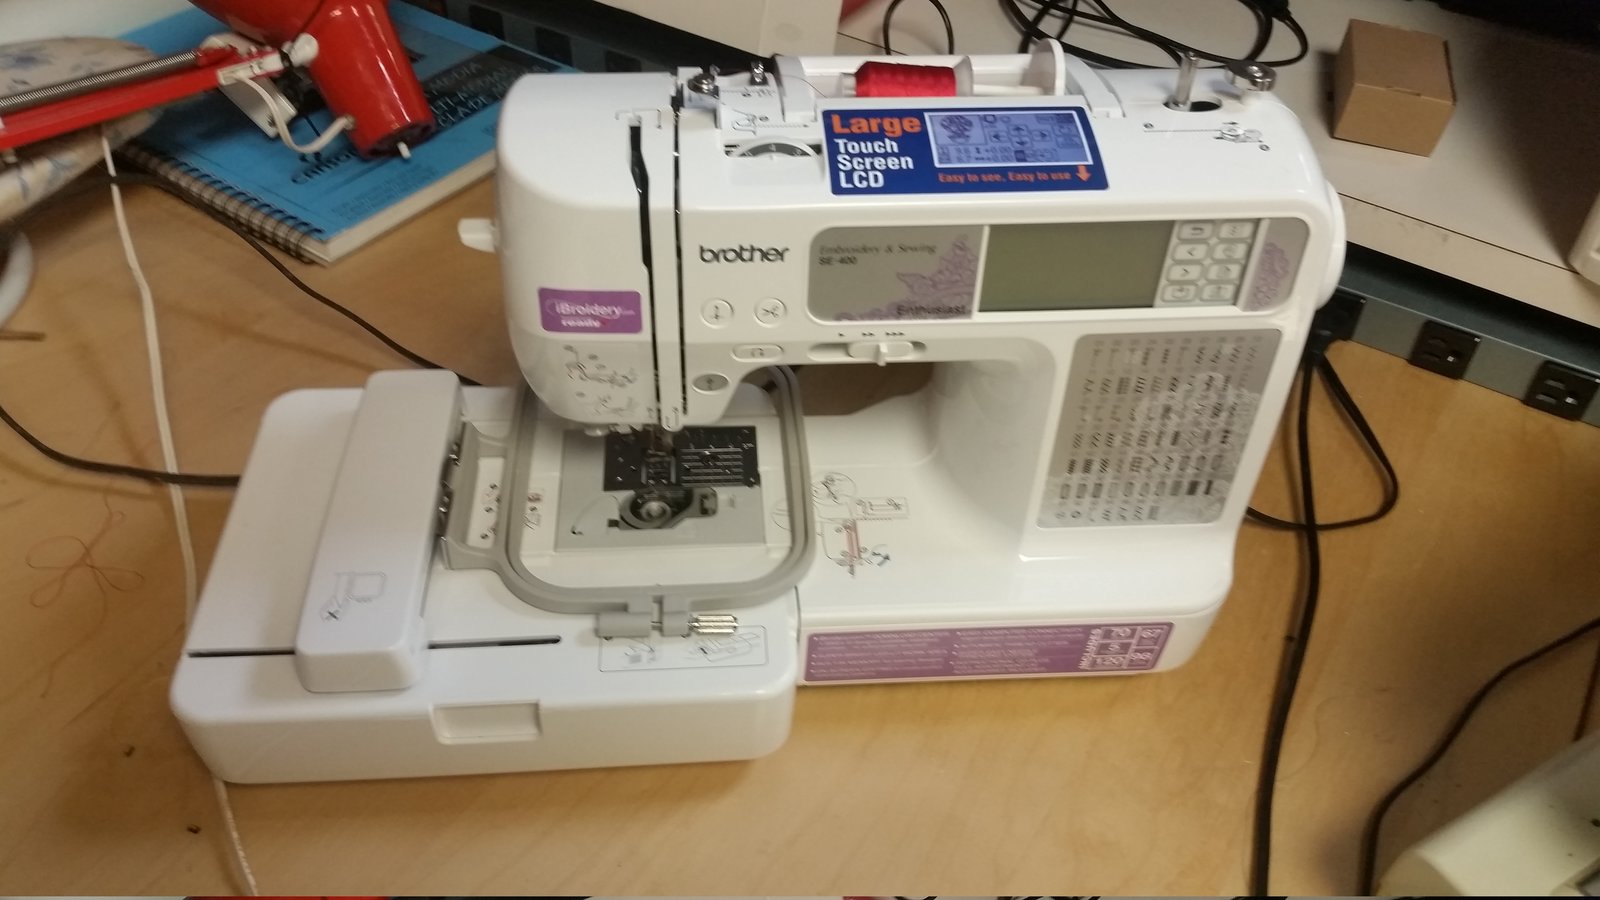
Instructions for Use:
This unit has some quick start instructions which are stored in the drawer under the desk.
The easy way to get started is just use the patterns or lettering options built into the machine.
If you want to program your own design I recomend using http://sophiesew.com/SS2/the-software/
There is a good tutorial on how to use this software on YouTube.
Tips to avoid gotchas
- Save often, it is not the most stable program in the world.
- Use the paint brush tool to import a jpg to manually trace.
- Each grid box is a centimeter.
- When drawing each third point is a green point which is a control point. You want to use green points to create sharp turns or end lines.
- To end a line while making it click the right mouse button on the when you are about to place the next green point.
- To join two point (and create a fill area) you need to close the shape. This is done by click on the line then endpoint so that it prompts you with the question of if you "want to make the jump?". You must be in "region mode". Once you close it you can use the fill tools. https://youtu.be/-8QeWSwq_iI?t=7m48s
- Right click on the line to modify it and add a stitch
- In order to export the design file you need to group the objects you are working with. To group use the icon in the top row with the inwardly facing arrows.
- You need to export a file with the export icon on the top row. That export file should be saved as the DST format.
- When you plug the machine directly into your laptop via USB, it will show up as a small external drive.
- It takes time (more than expected) before the machine copies the file completely and becomes responsive.
- The machine uses the pocket icon for its own internal memory. You want to move it to the machines temporary memory by copying from your computer but then add it to the pocket if you want to access directly on the machine in the future.
Other Software
Someone should investiage other software options for making designs.
Open Source - https://inkstitch.org
Comercial https://embrilliance.com or https://www.embird.net/
Instructional Video:
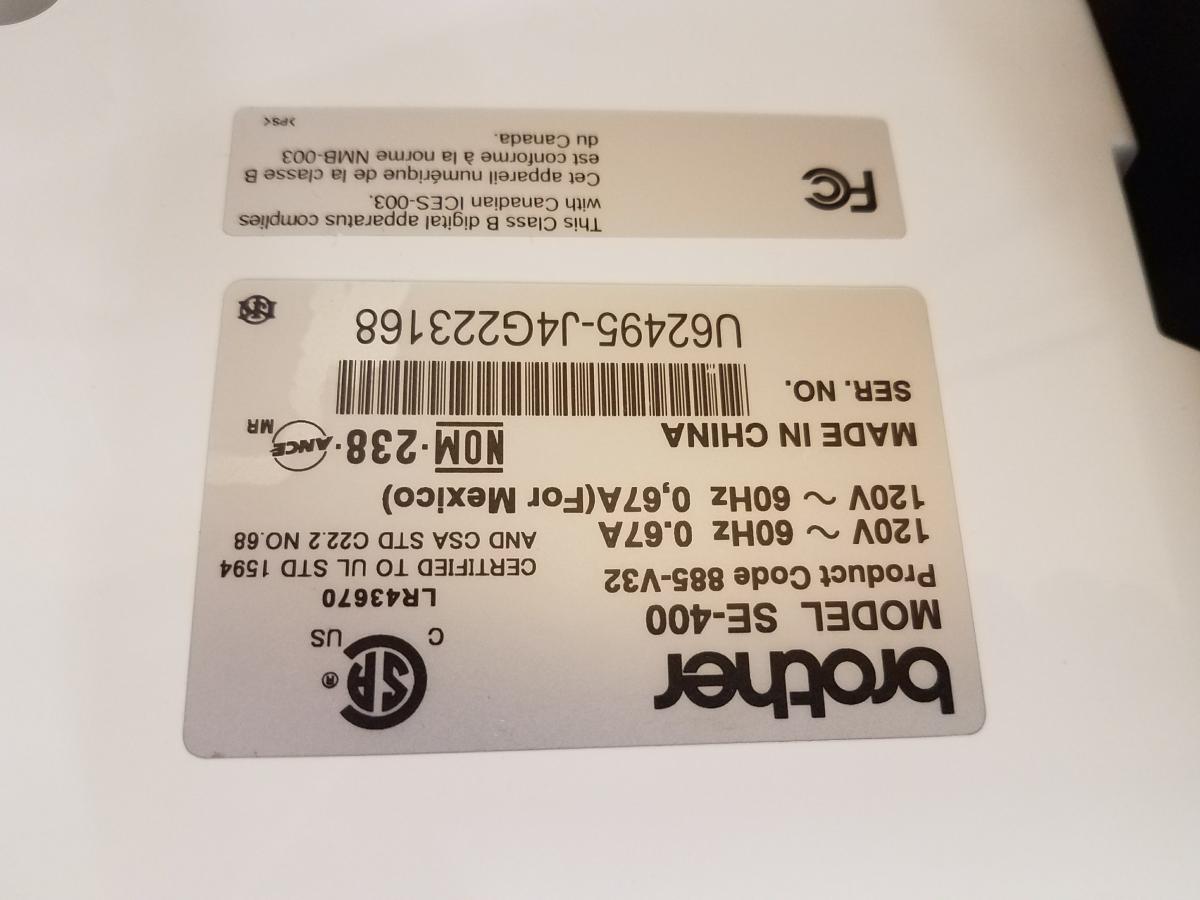
Information Plate:
Item Area Interest:
Item Hazard Band:
Hazard Class 1 - Minor injuries, addressable with basic first aid kit or ice.
Status: