In this project you will design a custom coaster and make a mold so you can cast several copies.
Step 1. Desgin and Generate Gcode

In this example I traced a bitmap of a logo using the "trace bitmap" function in Inkscape. With this vector image (SVG) I was able to import it into the gcode generator. The one I used was for shopbot but this could be easily done on Easel, a web based program for generating CNC code.
2. Cut Master Mold on the CNC

The above example is on a Shopbot CNC but a MakeHaven the Shapeopko CNC can serve the same need. Notice that the entire design is inset with a deeper trench around the perimeter.
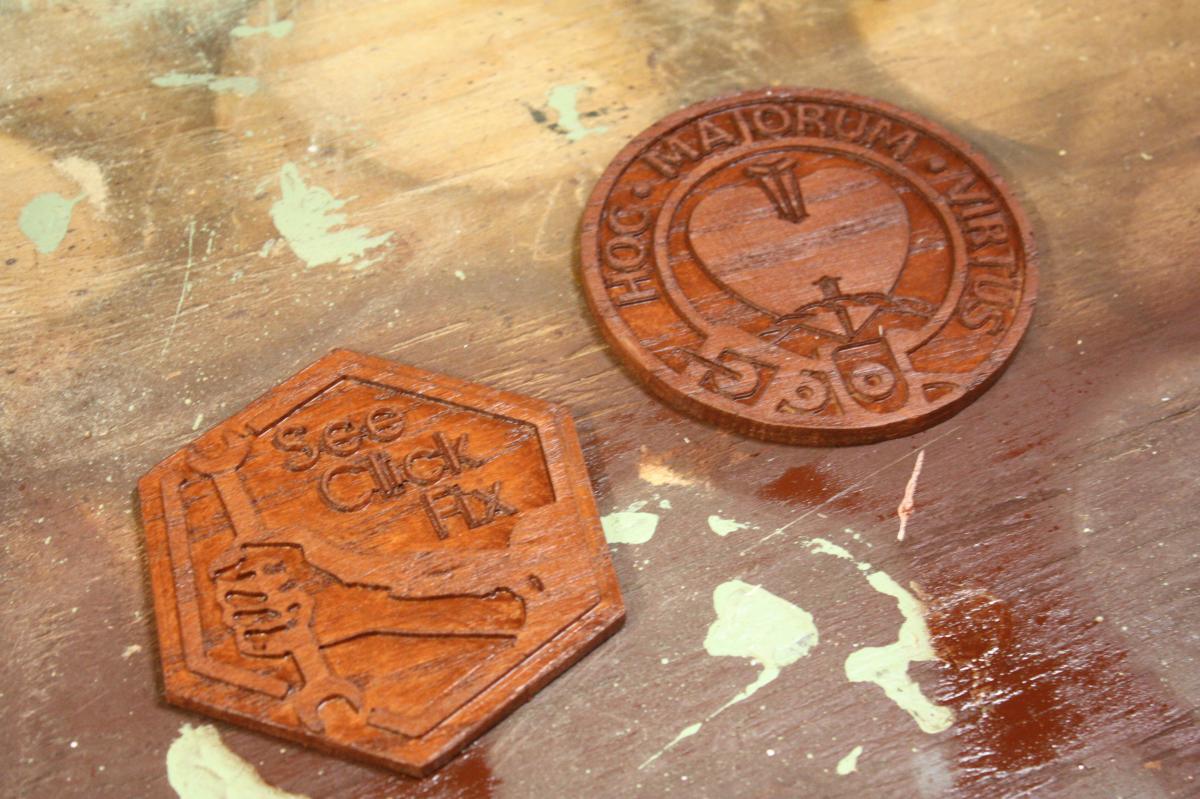
3. Prep the Master Mold

Right out of the CNC the mold was a little rough. With sanding paper and a knife I was able to clean it up. Tip: by using a wire brush on the grain I was able to create a deeper texture which will show up in the coasters you cast.

Further there were some places where important details of the design were chipped away. With woodfiller I was abel to fix some of these trouble areas.
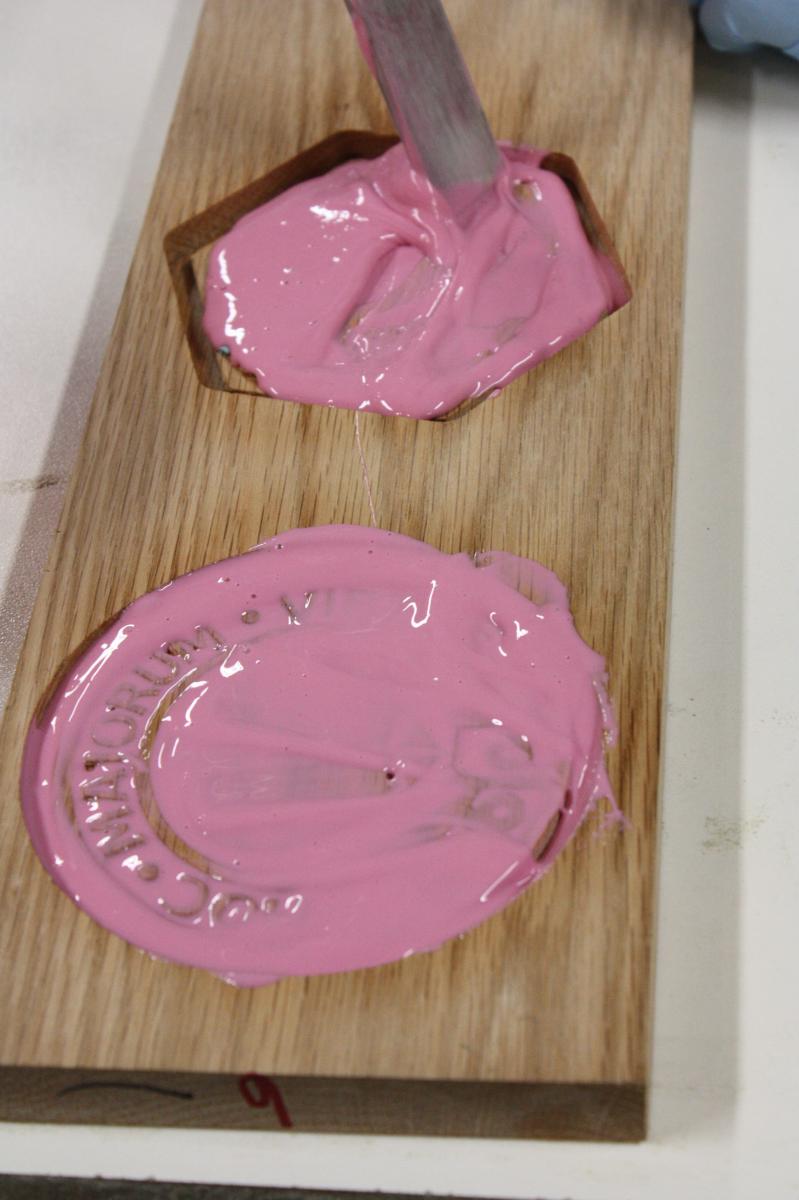
4. Create the silicone mold
The silicone comes in two parts that must be combined. Smooth On has a number of products which work well for this, OOMOO is a smart choice. This (or similar) can be purchased at Artist and Craftsman or at Online at Reynolds Advanced Materials.
This video give you an overview of the process.

6. Create Resin Coasters
This will be another two part mix. Again Smooth On products are a good choice here for example Smooth Cast.
They will produce heat as they cure and you can likely see the change as they harden first in the thickest areas.
Be careful to avoid bubbles.


7. Remove Resin From Mold
Then repleat the process to create as many costers as you wish.

8. Stain and Finish
Stain the resin coasters like you would any wood product. Add finishing touches like gluing green felt to the underside.
