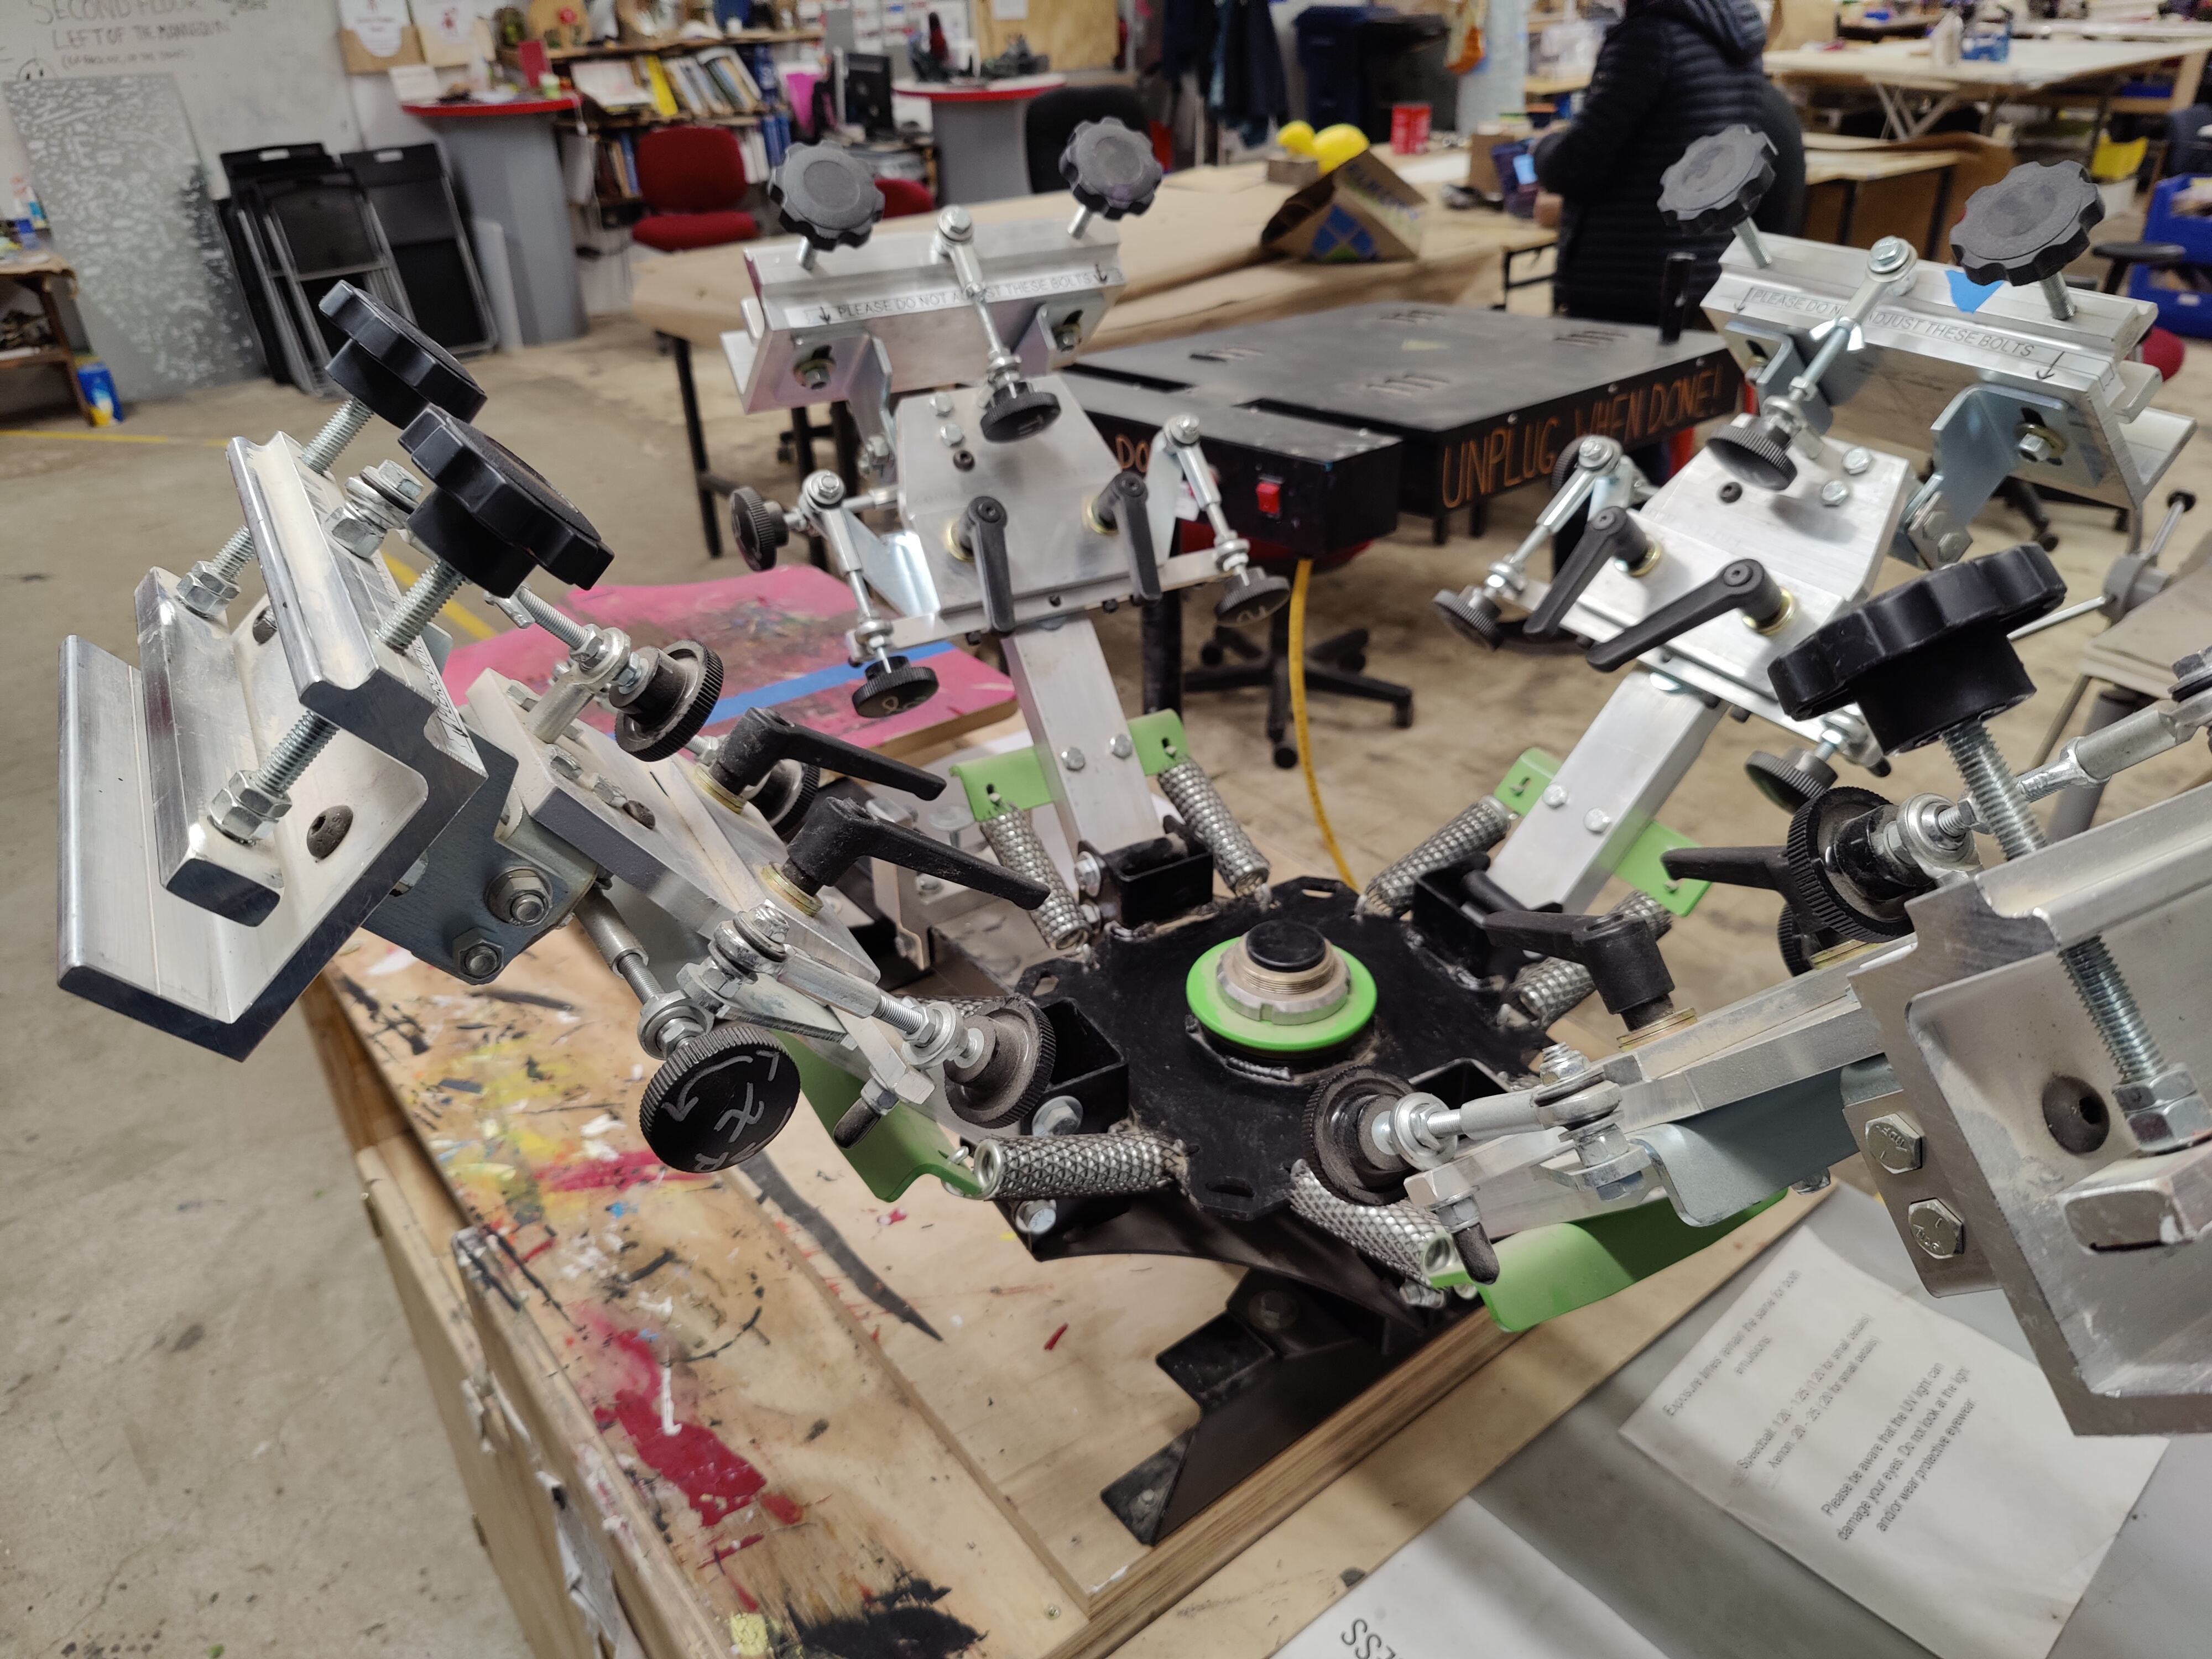
This machine allows tshirts and other materials to have 1 to 4 color images added. The machine acts as a jig to help lineup images. This is most commonly used in concert with tools for adding designs to screens and the flash dryer for locking the ink into place.
Instructions for Use:
Instructions for Screen Printing Process
Instructions for the screen printing machine itself coming soon.
Coating a Screen in Emulsion
- Prepare:
- Screen frame (buy at Hull’s or Artist Craftsman, cost depends on size)
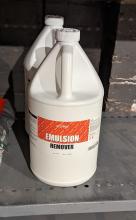
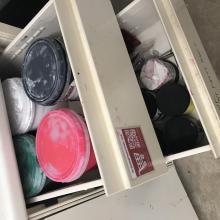
- Emulsion (green liquid -- found in black Biohazard fridge)
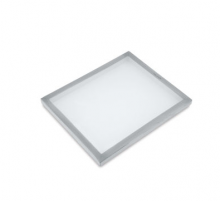
- Emulsion tray (looks like a mini horse trough – found in Screen Printing Supplies)
- Emulsion spreader (long putty knife type thing – found in Screen Printing Supplies)
- Make:
- Pour about ¼ cup of emulsion into the tray, filling it evenly
- Tilt the tray against the bottom of the front of the screen (somewhere on the frame) until one of the angled black plastic pieces is flush against the frame. The emulsion should start flowing toward the frame.
- As soon as a solid line of emulsion has touched the screen (all along the full length of the trough), scrape the trough up along the screen to the top of the frame, leaving a very thin coating of emulsion on the screen (should take about 5s). Tilt the trough back toward center so the emulsion stops flowing.
- Repeat (b) & (c).
- Leave to dry in a cool, dark place until the surface is dry to the touch, not sticky/tacky (right now we’re using the black Tupperware bin in the corner).
- When dry, leave in a cool, dark place (recommended: inside the black plastic trash bag inside the bin) until ready to use.
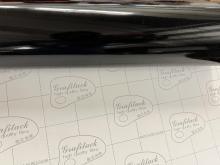
Preparing a Screen Stencil (Transparency)
- Prepare:
- Any image editing software on the computer by the vinyl cutter
- The graphics you want to use (B&W only)
- Make:
- Size your graphics – make sure they fit your material and the usable, emulsion-coated part of your screen.
- Load one transparency into the bottom manual feed tray.
- Print à Properties:
- Change Feed from Automatic to Front Manual Multipurpose Tray
- In the Print Quality tab, change the Toner Density of Black to highest
- Print!
- Repeat steps (b), (c), and (d) with a second transparency. This is your second copy.
- Cut about 1” off two opposite edges of one of the copies. (This makes it easier to tape them together.)
- Line the screens up exactly, and tape them together using a clear tape.
Exposing the Screen
- Prepare:
- Your screen
- Your stencil (doubled, taped)
- Two plastic bins from the 3D Printing Supplies storage (to provide an even surface and set height)
- The UV lamp, which lives in the casting/moldmaking area, usually just on the workbench..
- A small clamp
- A stopwatch or your phone
- A black surface (fabric, paper, etc.) that is flat and larger than your screen
- The big sink, with the water at cold and the spray hose set to greatest spread (lowest pressure)
- The black fan (under table near wall to wood shop)
- Make:
- Place the plastic bins side by side underneath one of the work benches in the front part of the shop.
- Place the black surface on top of them.
- Place the screen on top of that with the front (screen side) up
- Position the stencil backwards on top of that Make sure it’s oriented properly on the screen such that it will end up in the correct location on your fabric/medium when you’ve clamped one edge of your frame to the (T-shirt press) and positioned your shirt on the platen (board covered with red vinyl).
- Clamp the stand/handle of the UV lamp securely to the bottom of the edge of the work bench and position the lamp so that it is facing straight down toward your setup
- Prepare your stopwatch and get ready to start as soon as the lamp turns on (takes 1s from flipping the switch)
- Turn the lamp on and expose the screen for exactly 90 seconds.
- Turn the lamp off and remove your transparency. (May save for future use.)
- Bring your screen over to the sink and wash out the uncured emulsion with the cold water (several thorough passes on both sides). Everything should have cured except what was covered by your stencil, so only the pieces on your stencil should end up washing out. Make sure there are no remaining spots of emulsion in your stencil area.
- Rest your screen against a table leg near the black fan, turn black fan to high, and let it dry while you prepare the next stage. May want to turn occasionally.
Transferring and Curing the Ink
- Prepare:
- Whatever ink you plan to use
- Small putty knife and/or spoon
- The smallest squeegee that’s wider than the size of your design (found in the Screen Printing supplies, hanging)
- The T-shirt press
- Your fully prepared screen
- The Flash dryer – (only really needed if using plastisol ink)
- Two metal stools on top of one another
- A big masonite square (any wood, really, just so the metal stools don’t get crazy hot).
- The fabric/shirt you’ll be transferring onto
- The thermometer gun (in Measuring Tools drawer near the bike stand)
- Make:
- Put the masonite, flat/unmarked side up, on top of your double-stacked stools.
- Set the height of the lower face (coil side) of the flash dryer about 12” above the masonite, then move your stools away once you’ve checked height.
- Plug the flash dryer into the left-hand quad socket (not the one with the kill-a-watt in it) and let it start to heat up, away from anything else.
- Set up and align your shirt/fabric on the platen. If it’s a shirt, it goes over and around the thing, like the thing is “wearing” it, collar side out.
- Align and clamp one edge of your screen’s frame to one of the four stations on the T-shirt press. The flat side of the screen should go down when you lower the station onto the fabric, and you should be able to press the screen into the fabric from above.
- Scoop out about ¼ cup of ink and spread it in a line near the edge of your screen that’s against the clamp, close to the frame edge. Make sure to get the full width of your design and a little beyond.
- Using one edge of the squeegee, pull the ink firmly across your design.
- Tap a few times to get some ink off the squeegee, and repeat in reverse, pushing ink across the design.
- Repeat (g) and (h) as necessary (1-5 times?), repeating (f) if you start running out of ink.
- Check that the design has been transferred completely & evenly. You can do this by lifting up the screen – it will fall back into the exact same place if you need to add more ink, so don’t worry.
- When ready, lift the station, remove the fabric, and lay the fabric flat on top of the masonite, with the design centered.
- With the thermometer gun in hand, bring the broiler carefully (use the vertical handle) over to sit above the masonite.
- As the ink cures, monitor it in a few different spots with the laser. If it gets to 320 degrees or the fabric starts to smoke, immediately move the broiler away and wait for the fabric to cool down before continuing to cure. The ink is cured when none rubs off to the touch.
Last but not least, definitely clean up.
Item Area Interest:
Item Hazard Band:
Hazard Class 1 - Minor injuries, addressable with basic first aid kit or ice.
Status:
