This is a simple way to combine two vinyl cutouts to create a two-color design. In this case I'm using text, but this can be done with images as well.

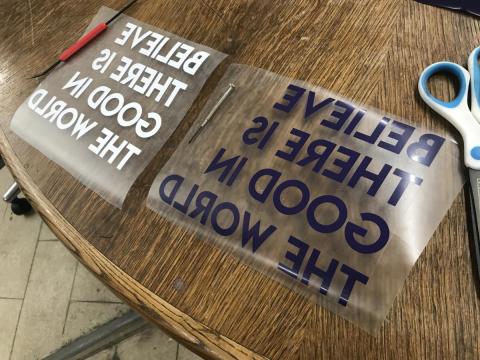
Cut the same complete design on two sheets of iron-on t-shirt vinyl.
\r\n
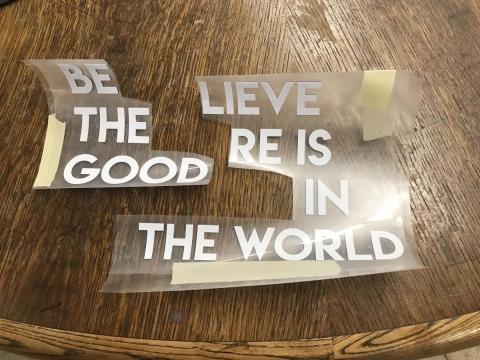
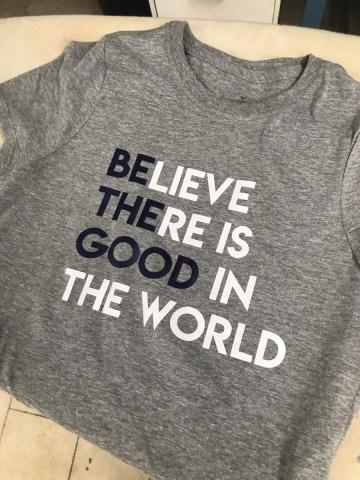
Stack the two pieces so they line up and then cut a line where you want the color to change. In this example, the purple is under the white as I cut.
\r\n
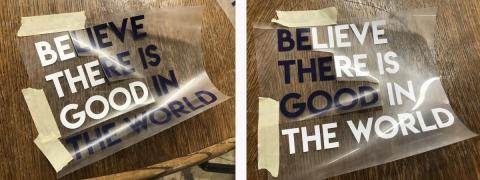
Once you have the distinct cut, separate the pieces, swap the same piece on each, and bring together in the new two-color combinations as shown. Here I've used masking tape to get a good feel for the final look. Be sure to remove masking tape before applying to the shirt.
\r\n
Congratulations, you now have two shirts worth of iron-ons ready to apply! Preheat the heat press. If you are unfamiliar with the tshirt press see info on our vinyl page and one Sign Warehouse's printing pdf. It is harder to preheat your shirt with this method, but it is worth to do a quick preheat with your shirt in place before laying out the design.
\r\n
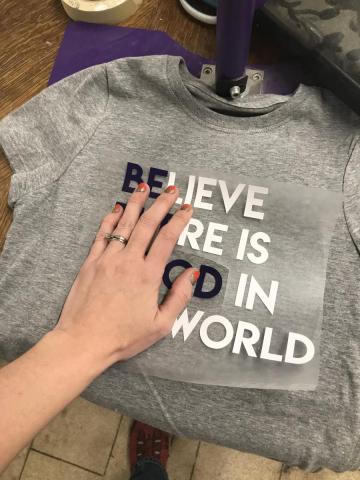
Select one set of your puzzled-together designs and line them up on your shirt in the press. Remember to remove the masking tape if you've used any.
\r\n

Carefully place the protective sheet over your design without upsettng the placement.
\r\n
Press for 10-15 seconds, then unclamp the press and peel the plastic away. As we use hot-transfer vinyl, you do not need to wait for the vinyl to cool to remove the plastic sheeting.
\r\n
\r\n
There you have it!
\r\n