
This is a Konica Minolta bizhub c251i Printer/Scanner.
Step 1 - Adding Funds
You must be logged in to MakeHaven.org.
Add funds here: Add Funds
Choose an amount, and enter a payment method in our secure portal on Stripe.
Please note there are no refunds for print funds, so adding smaller amounts is recommended. Black and White prints are currently $0.20 per side and Color prints are $0.40 per side.
Step 2 - Uploading Your Print
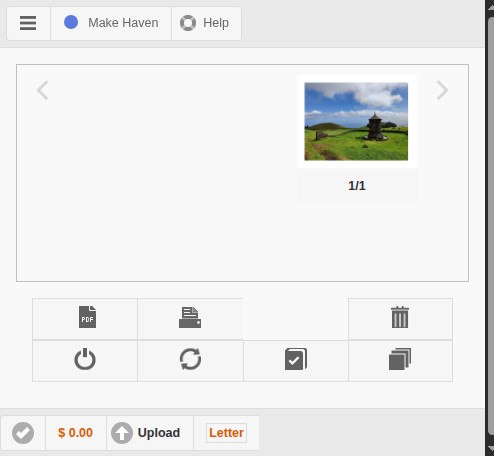
After funds are added, continue to the Print Manager.
It may take up to 3 minutes before your funds show.
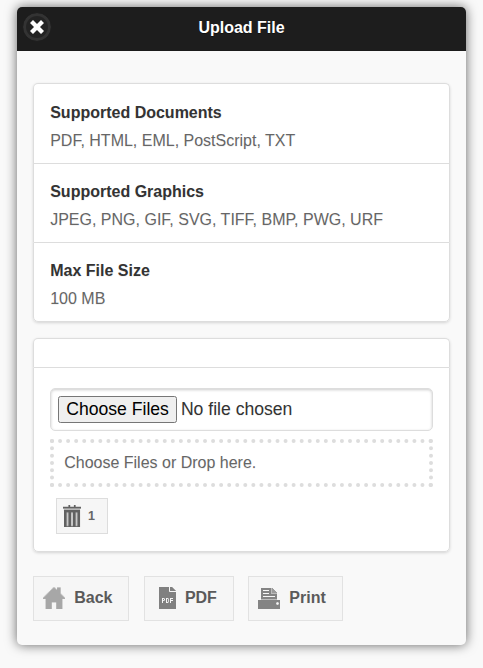
Click Upload (bottom left corner).
Choose a file (a PDF is recommended). Confirm the upload with the button, then select "Print"
Step 3 - Select printing options
The next screen is the printer options. You can change to the bypass tray here with "media source", select Color or Greyscale, and select One-Sided or Double-Sided.
When done click "job" to move to print job forward. 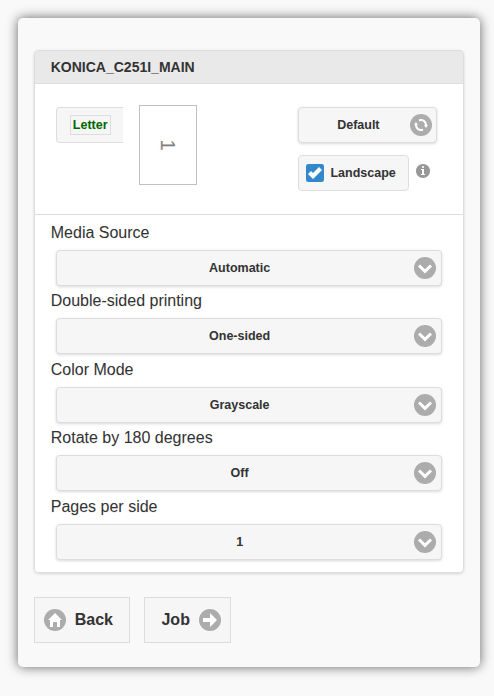
Choose how many copies you want. When you click "Print and Close" it will send the print to the printer. It will also remove the file you uploaded to print from the server (it will say file deleted). 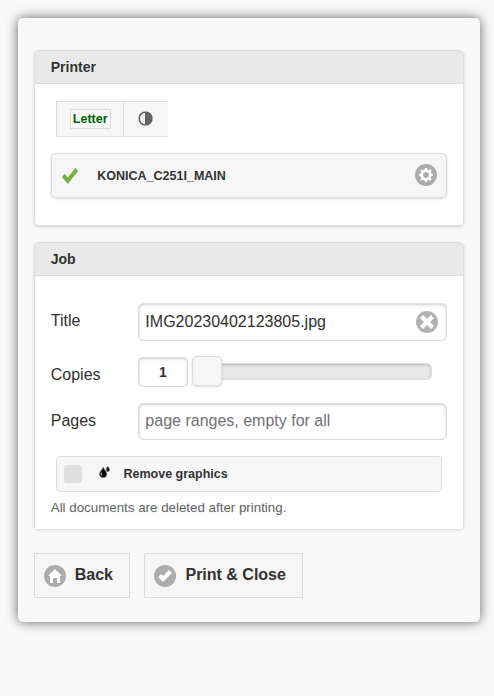
To print to the bypass tray (for transparencies, thicker paper, 11"x17" sheets, envelopes, etc), open the bypass tray on the right side and place sheets print side down. Adjust the sliders to the edges of your material.
Note: If you get an error, turn the power switch off for a 30 seconds and then back on. Click "Report a Printing Problem" button to report any issues.
To Scan/Copy:
Step 1 - Insert Sheets
Sheets cannot have paper clips or staples, and should be places face up in the top tray with sliders touching the sides, or face down on the scanner bed.
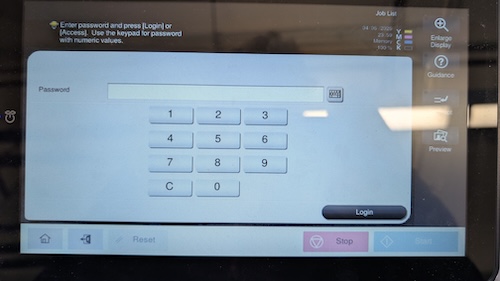
Step 2 - Log in to the Printer
Enter the code 1234 on this screen:
Step 3 - Insert a USB stick into the right side of the printer.
Step 4 - Click Scan, then press the USB icon, and Save a Document to External memory
Step 5 - Press the keyboard icon to enter a custom file name, and select any other desired settings
Step 6 - Press Start.
You can now remove the flash drive and put it in your computer to retrieve the files.
Step 7 - To make copies, print the files from your computer using the steps above.