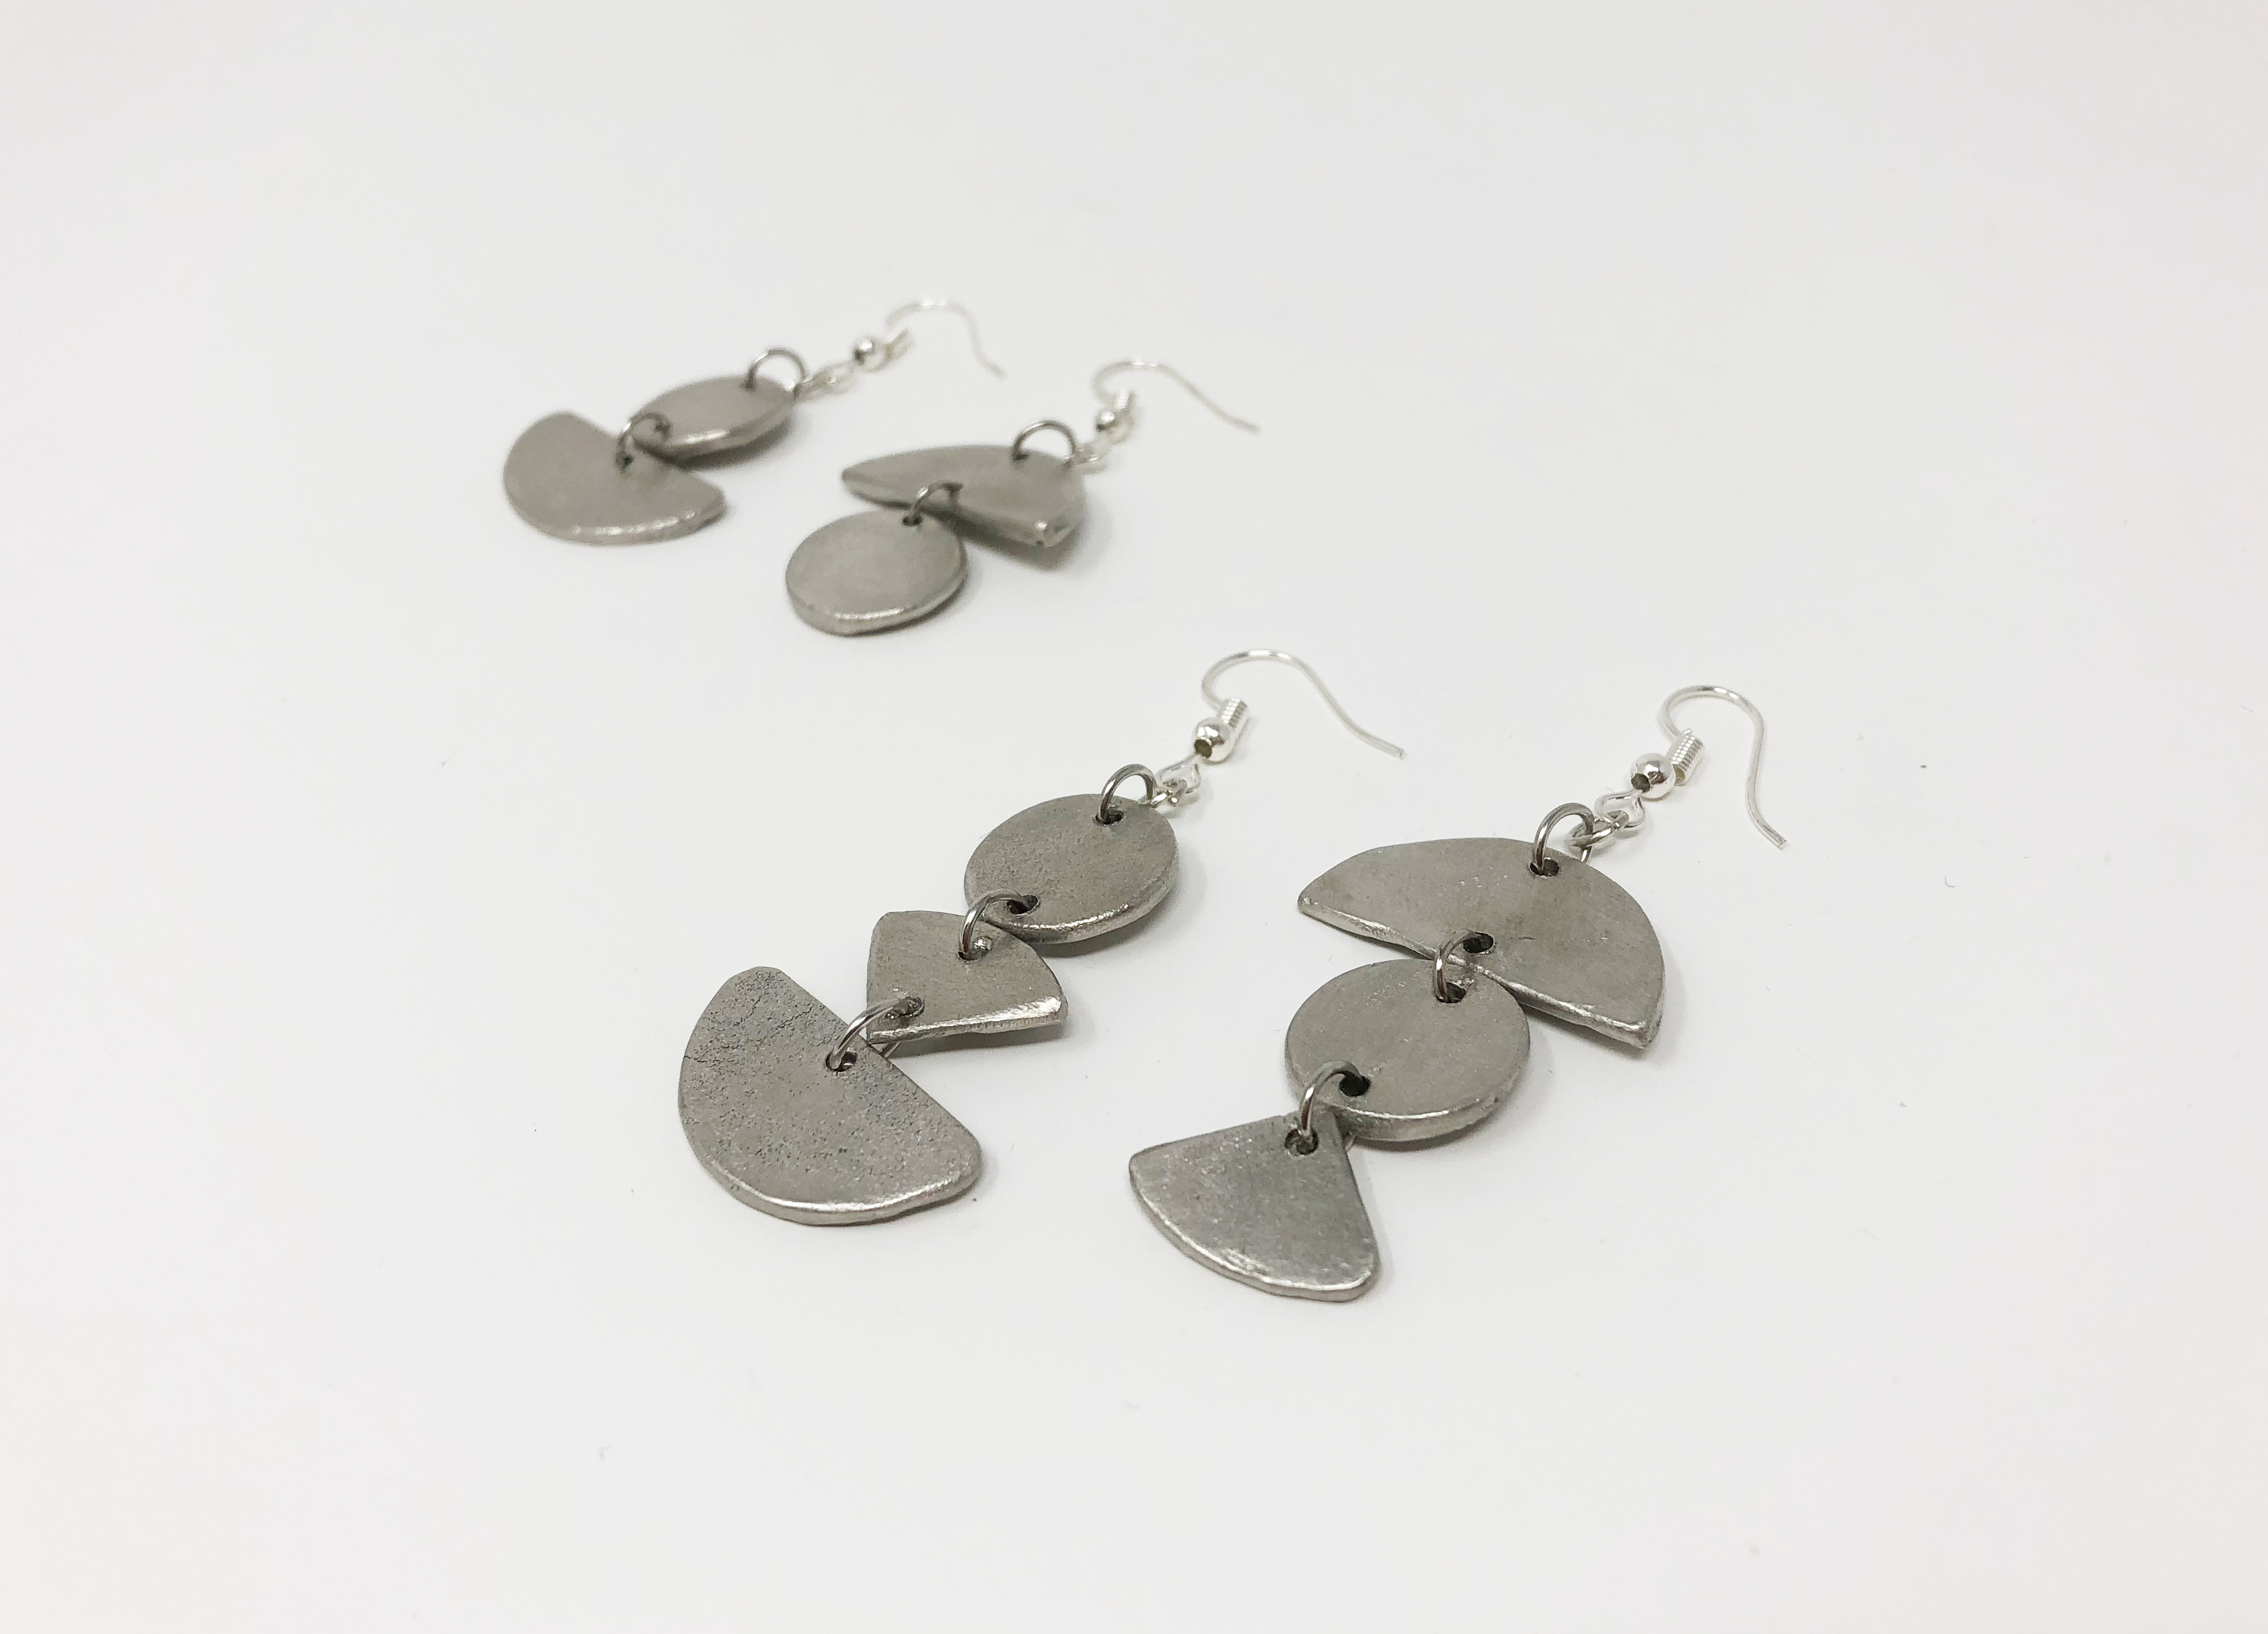
The melting pot is a great tool for taking 3D printed prototypes and turning them into finished products like game pieces or jewelry in a relatively quick process. I ended up making a small series of geometric, asymmetrical earrings, and the whole project, from printing my prototypes to buffing my final designs, only took a couple of days.
Making the Mold
To start, I 3D printed the shapes I wanted, covered them in Bondo, and sanded that smooth with 220 grit sandpaper. In this situation, Bondo is better than XTC-3D because visual surface finish does not matter and it has a much faster drying time (about 10-15 minutes per coat). It's also very easy to sand, so this step won't be very time-consuming. Next, I made a mold with foam core and hot glue. I made sure to seal all of the edges with hot glue so the silicone couldn't seep through any cracks. After this, I hot glued the jewelry shapes onto the bottom of the mold. You'll notice later that I didn't end up using the large circle shape because it was too heavy once cast in metal.
To make my mold, I used Smooth On's OOMOO 25. This silicone had no problem dealing with the heat of the metal because I chose a bismuth/tin alloy that had a low melting point of about 280 degrees Fahrenheit (can be purchased here: https://www.rotometals.com/lead-free-fishing-tackle-weight-bismuth-tin-… ). I'm not sure how this specific silicone would react to a hotter metal, but Smooth-On does make other silicones that can withstand high heat.
I designed my original jewelry pieces with 1/16 inch holes where I would attach the jump rings in the future. I did this expecting to eliminate the need to drill these holes after the metal was poured. When I removed the 3D prints from the silicone mold, the silicone that was filling the holes I made got stuck and most of them came off, so I tried using toothpicks to replace those positive forms. However, through the casting process, I realized it would be best to cast without the toothpicks, and I will go into more detail on this later.
Getting Started with the Melting Pot
Before I explain my process using the pot itself, I want to mention that I always wore face protection while melting and pouring the metal. In the event that any water comes in contact with the molten metal, there is a risk of a chemical reaction that could make the metal splash towards you.
The specific melting pot model at MakeHaven is made for lead, so the highest temperature setting will bring the pot to about 900 degrees Fahrenheit, and the lowest to about 450. I mostly worked with the knob turned just under 2, and would adjust it accordingly depending on the viscosity of the molten metal. If it was getting thicker, the temperature was too low and if the top layer was turning dark in the pot, the metal was oxidizing and the pot was too hot. In the above photo of my setup, on the upper right corner of the plate, there is an example of what the oxidized metal looks like. About every five pours, I tried to remove the oxidized metal and impurities from the pot so that everything stayed clean. As mentioned earlier, the melting point of this metal was under 300 degrees, but having the melting pot set higher than that kept the metal a very smooth, liquid, and workable texture.
The way this metal behaved as a liquid is the reason why I ended up removing the toothpicks from the mold and drilling the holes after. The toothpicks did not work because the metal isn't free-flowing enough to fill the entire mold without assisting it by spreading it out with the pouring spoon. Even though keeping the metal hot keeps it a thin liquid, it naturally doesn't want to fill a shallow space. It is attracted to itself and the surface will always dome and form a large droplet. The solution to this is pouring it, waiting a few seconds for it to cool, then spreading it gently with the pouring spoon.
Something that isn't pictured above in my setup is a baby powder-like product I used, that acted as a release agent and mold preserver. A thin dusting will last you a few pours, and it does a decent job protecting the mold from degradation. (Also I left it on the casting shelf for anyone who wants to try casting metal.)
This image was my first pour and you can see, the toothpicks did a great job of making the holes I needed, but the metal was hard to control with the toothpicks in the way. What I learned was that the only way to get a good cast without overflow and a piece that wouldn't require too much filing was to remove the toothpicks and drill into the pieces after. Thankfully, the metal ended up being very easy to drill through. Before I drilled into it, I used an automatic center punch to make a pilot for drilling. The center punch is stored in the stamps, engravers, and rivets drawer.
Once I removed the toothpicks, it was much easier to control the amount of metal that went into each part of the mold, and I was able to smooth out the overflow to make sure I cast a thin, smooth shape.
This is what the piece will look like fresh out of the mold using this method. The overflow pieces are very easy to break off and then file down.
The top circle is filed and buffed with steel wool, and the bottom piece is not.
After some practice, I learned that the pieces actually only need a minute or so to become solid. Even though they will be hot to the touch, you can remove them from the mold by turning it over. Once you get into the rhythm of casting, it's easy just to keep generating multiples, and for this jewelry project, the possibilities seemed endless.