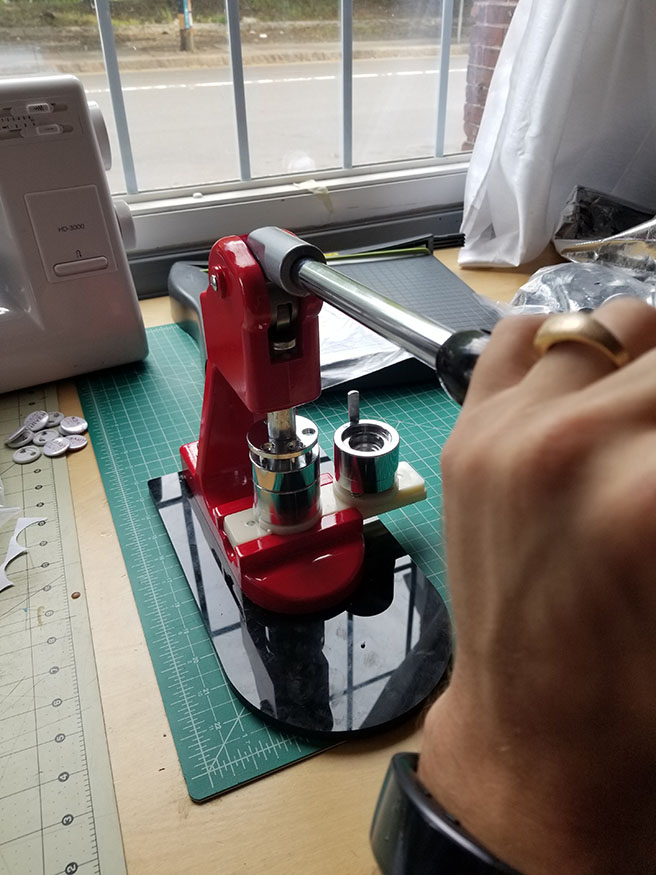
A small machine for the creation of 1" (25mm) buttons.
The first thing you will need is a circular design to cut into a badge. Your image should take up the central 23mm diameter, but will be visible up to 25mm diameter. It is theoretically possible to design for the small visible area on the back of the pin but this is incredibly difficult to achieve with the accuracy of our current cutting tools. You will be cutting circles of 35mm diameter so leave suffiencient space between images when designing a page. For visual reference:
Use the circle cutter set to 35mm to cut apart your images:
Cutting out all of your images at once will be easier once you get going with the button making:
Now that you have your images ready to go, you need to get the button making supplies in a convenient location. You will need metal button fronts, laminate/plastic covers, and button backs in addition to your cut images.
Step 1: Slide the moving bracket on the button maker to the left to start making your button.
Step 2: Place a metal button front into the ridge.
Step 3: Place your cut image on top of the metal front.
Step 4: Check to make sure you have one plastic cover in your hand--they tend to stick together so try to separate them like you would fresh money.
Step 5: Put your plastic sheet on top of your image.
Step 6: Slide the moving bracket to the right.
Step 7: Pull down on the handle and smoosh! After you press the button together, it should be trapped in the top part of the button maker. If you can still see your button in the bottom left, something has gone wrong (usually bad or missing parts--I've found some metal fronts just won't work, or have forgotten a step once you really get going. If you can't get a button front to work, don't worry about just throwing it away). Start over and see what went wrong. If your button has disappeared, move on to step 8.
Step 8: Place a button back into the right side of the button maker with the part you pin to your shirt facing down.
Step 9: Slide the bracket back to the left.
Step 10: Pull the handle down one more time and release (it should go slightly farther down that the first time you pressed). Your completed button should be ready to remove from the right hand side!