3D printing is an amazing technique for prototyping, and with surface finishings like Smooth On's XTC-3D, you can turn those prototypes into even better finished products.
I chose to print a small planter I designed in Fusion 360 just with one extrude and one chamfer command.
This is my original and revised print side by side. The original was not only smaller but as you can see in the following image, the chamfer angle failed to print correctly. The angle was originally set to 45 degrees, and once I set it to 40 degrees the issue was resolved and everything was smooth.
To prepare to apply the XTC, I sanded my print a little with 220 grit sandpaper just so the product had something to adhere to.
XTC is made of two components that have to be mixed with the right ratio to cure, kind of like a two-part resin. Before you even touch these bottles, you're going to want to put on gloves because it stays on everything it touches. For smaller items like this print, I apply it with a disposable 1/2 inch flat paint brush and for larger items, I apply it with a chip brush. Any lines that appear in the XTC during application will level out while it's curing.
After the first coat, the print is looking smoother, but you can still see the striations. Also, because I applied the XTC while the print was hanging upside down, it beaded at the rim. After I sanded the first layer of XTC with 220 grit sandpaper, I applied another layer in a much thinner coat to prevent that from happening again.
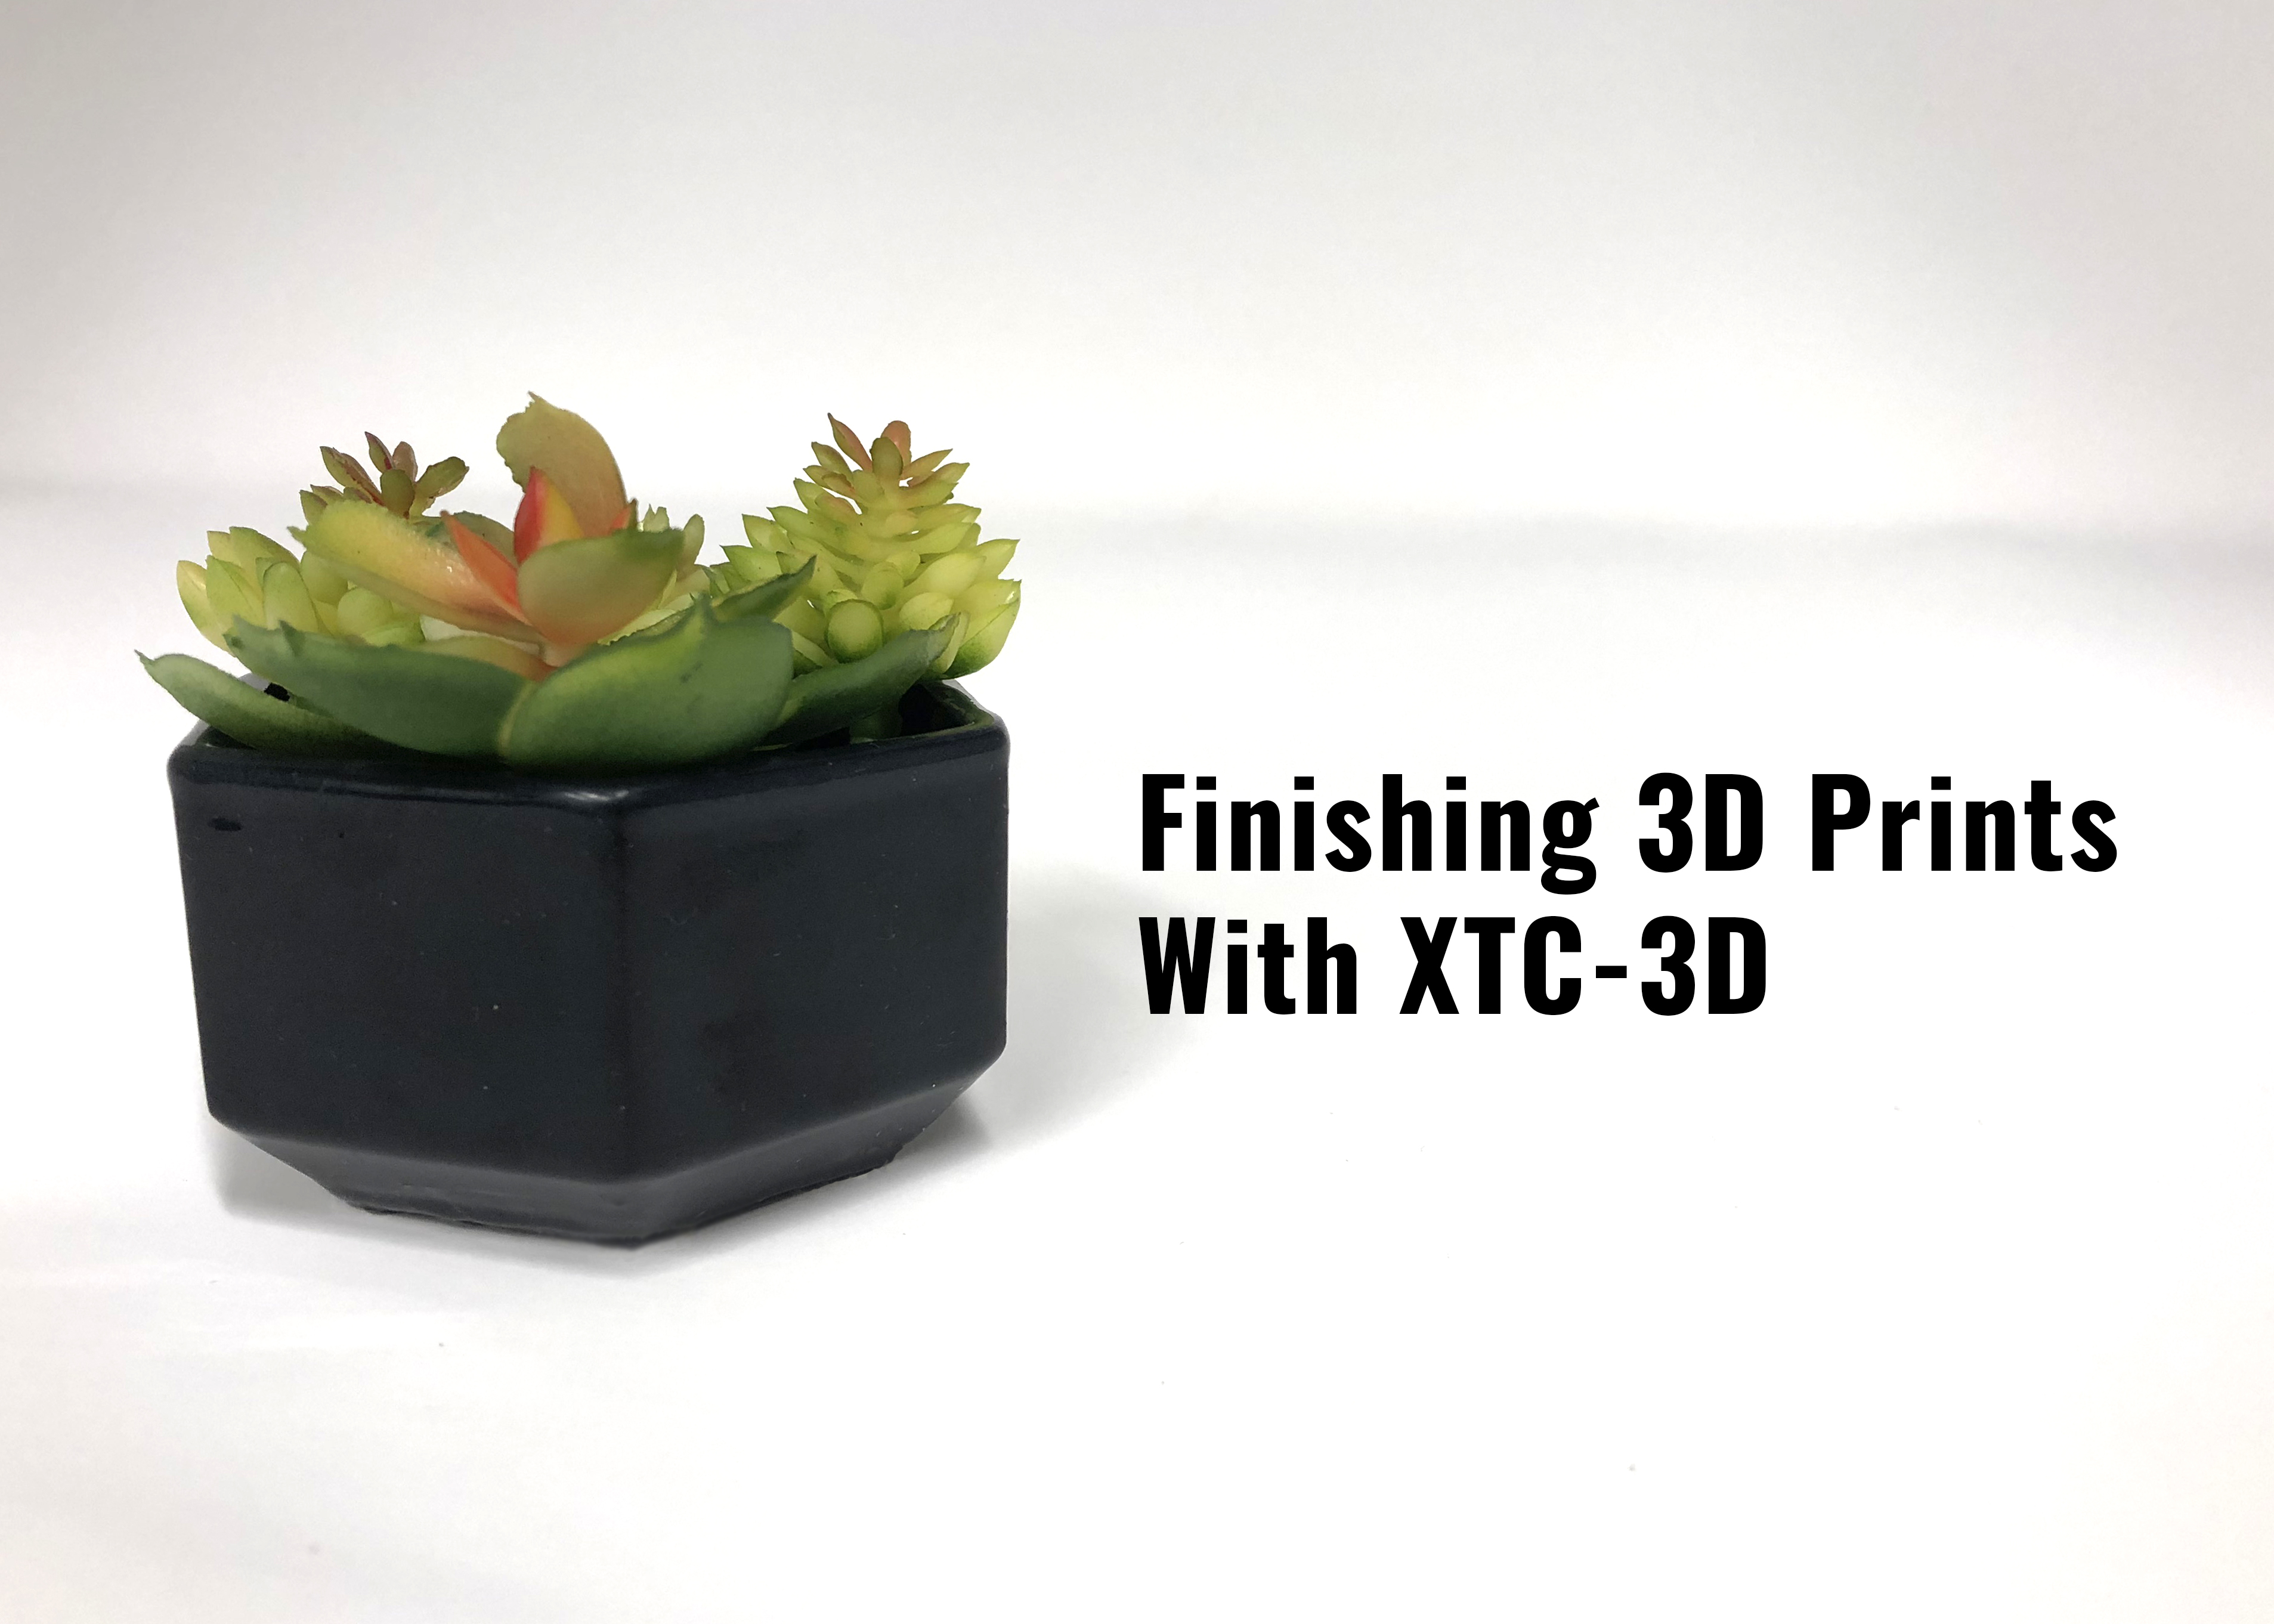
I sanded again with 200 grit sandpaper between the second and final coat. As you apply more layers of XTC, the edges of your print begin to appear smoother, so that is something to be taken into consideration during the design process. After three total coats of XTC, my print has a smooth and glossy finish and the layers of filament are no longer visible.