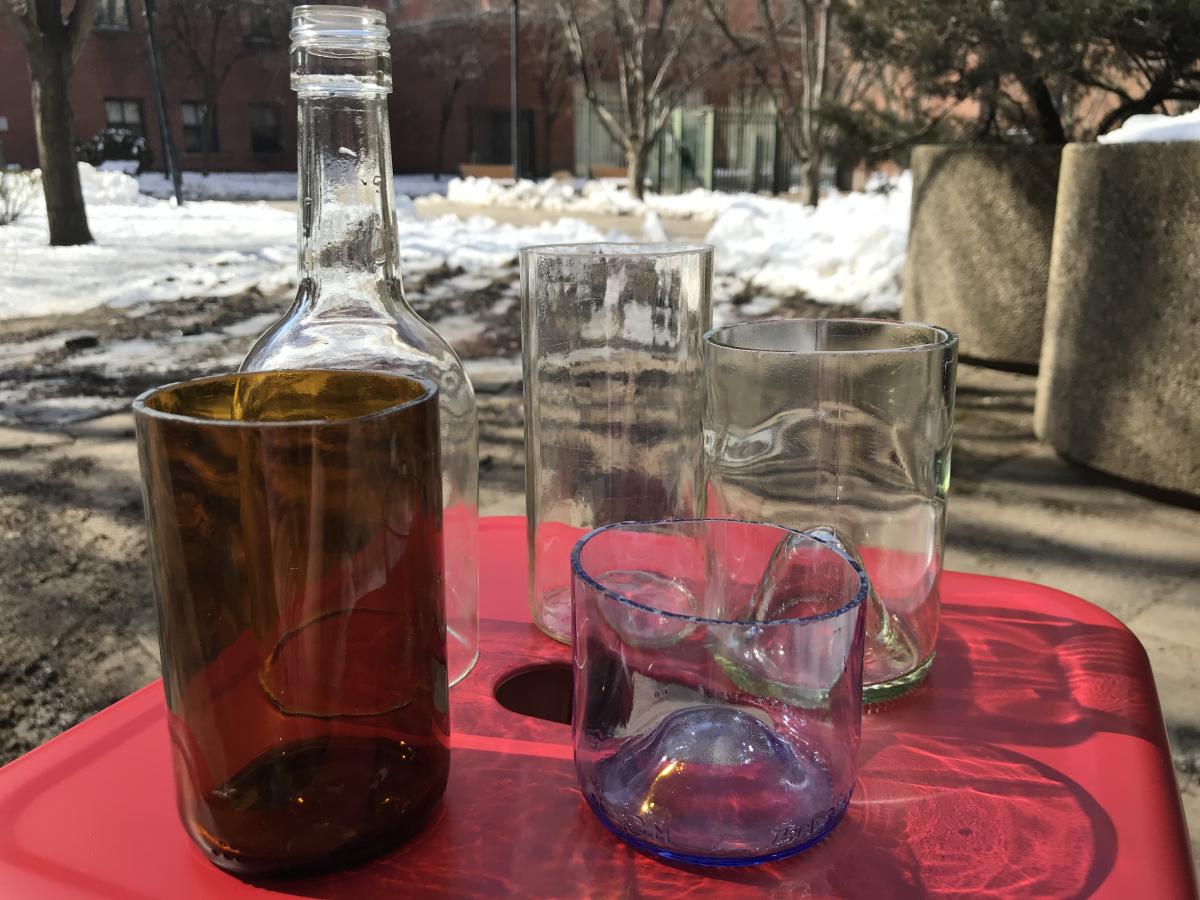
Use the bottle cutting kit to cut bottles into a drinking glass.
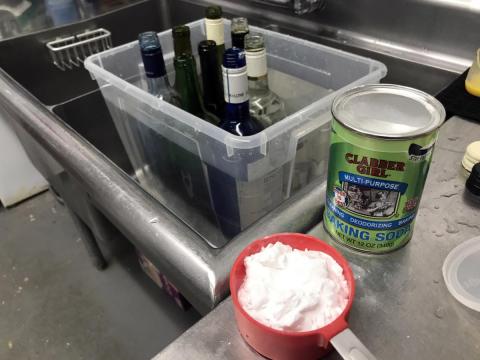
Soak bottles in a container of warm to room tempperature water mixed with about a half cup of baking soda. Let them soak for at least 10-15 minutes, ideally 30 minutes.
\r\n
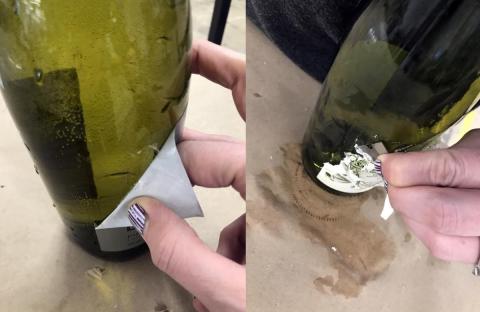
Peel back the labels to remove. Some will come off smoothly, others may need more assistance. You can carefully use a razor to scrape down, as shown. Scrubbing with damp steel wool in the slop sink is also helpful. Dry the bottle thoroughly.
\r\n
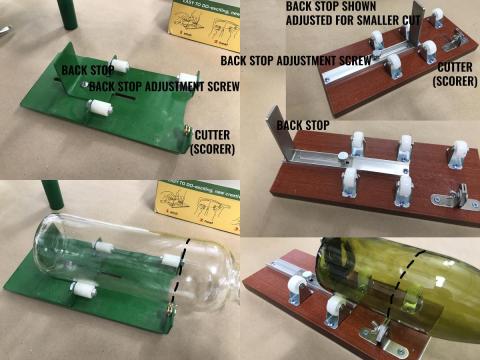
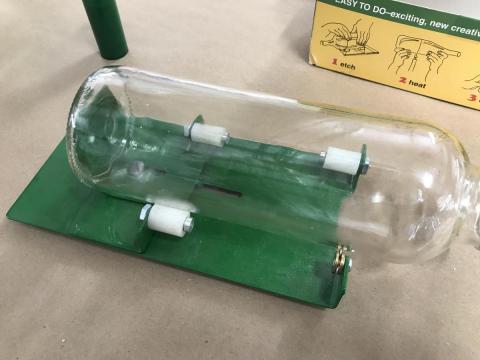
MakeHaven has 2 bottle cutters. Both have the same components: an adjustable back stop (to hold the back of the bottle as you turn to cut), rollers for smoothly turning the bottle, and a cutter (scorer). Adjusting the back stop will determine the placement of the cut. The dotted line represents where the score line will be.
\r\n
Using firm, continuios pressure, roll the bottle towards yourself. You will hear it cutting and see the score line forming. Keep the bottle as steady as possible, with the back flush against the back stop. Complete one rotation and STOP. Do not try to score multiple rounds--this will result in a less clear score line and will produce less consistant results.
\r\n
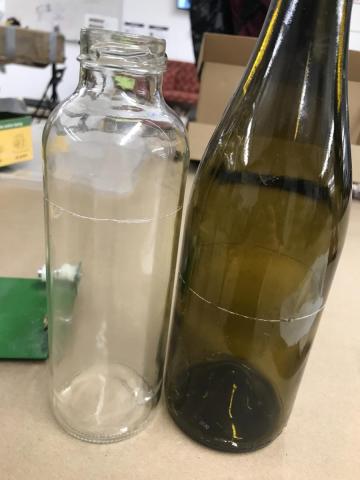
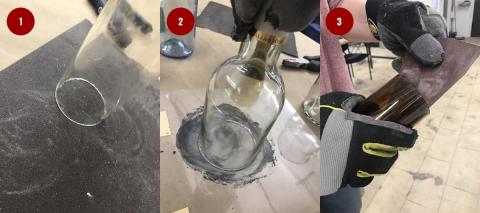
Scored bottles should look like this.
\r\n
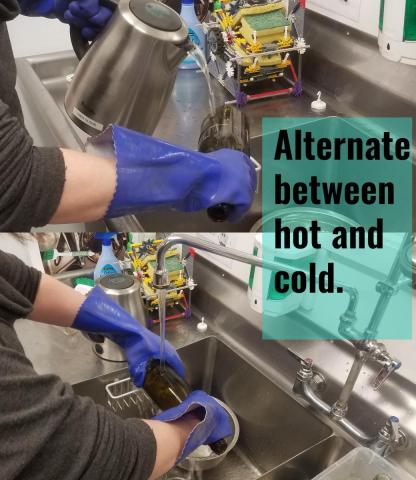
The key to separating the bottles is to quickly go from very hot to very cold. The shock will cause the bottle to break in one quick action.
\r\n
Begin by pouring boiling water across the score line. Keep in mind that the bottle may break in two at any point, so rest one side of the bottle against a bowl, or have someone else pour the water for you so both halves are secured as you pour. If the bottle doesn't break after 20 seconds or so (you will feel the temperature of the bottle rise), switch to very cold tap water.
\r\n
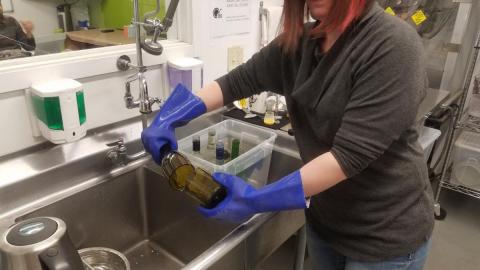
Pour the cold water over the score line. Listen for the sound of the glass cracking. Remember to secure both sides as you go. If it does not break in about 20 seconds, switch back to hot.
\r\n
Continue to alternate until it breaks. You will not need to pull in any way; it should separate in one quick break, typically within 3-4 cycles.
\r\n
The bottle will break with little warning, so be sure you are holding both sides as you apply hot and cold.
\r\n
Once the bottle is separated, you will need to smooth along the break line.
\r\n
- \r\n
- Begin by sanding with a medium grit sandpaper (~100) to get the rough edges.
- 2Next, pour the polishing grit on a flat, hard surface. Dip the rough bottle edge in water, and then rotate the bottle edge in the grit as shown. Add more water as needed.
- Once the edge is smooth and level, you can finish with a finer grade sandpaper if needed.
\r\n
\r\n
\r\n
\r\n

Well done! If you want to keep going with your project, you can add a vinyl stench and use armour etch to etch a design into your glass, or use the bottle tops as light fixtures and more.
\r\n