
Quilted Placemat Samplers
Placemats as a Freestyle Quilting Sampler
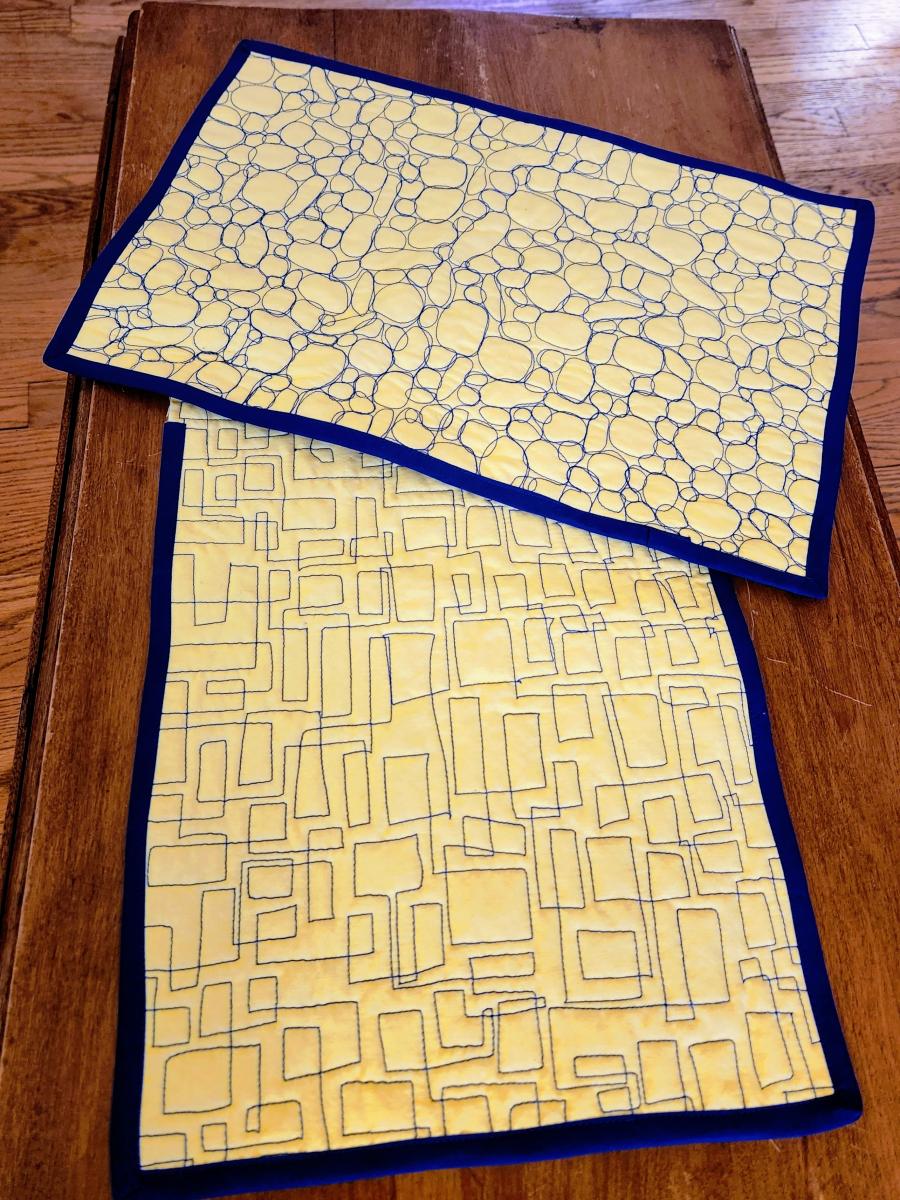
Making smooth continuous freestyle shapes on the long arm quilter takes practice. Why not try several types for a single project? You can try flowers, spirals, zig zags, stones, woodgrains, words, single line drawings, wanderings, knit look - the options are many! A set of six placemats lets you practice six techniques. You need to be badged on the long arm quilter and basic sewing machine and/or serger machine.
Supplies for 6 placemats include:
- 1 ½ feet of 45” wide fabric for the top
- 1 1/2 feet of 45” wide fabric for the bottom
- 1 1/2 feet of 45” wide thin batting for the middle
- Machine quilting thread to match or contrast the fabric
- 10 yards of ½ inch double folded bias tape to match or contrast fabric OR decorative serger thread to match or contrast fabric - wooly nylon works well
Wash and iron your fabrics prior to mounting them on the quilter. Most cotton blends are pre shrunk, but precaution gives the best results. The batting really should be preshrunk. Trim the cut edges to ensure a straight edge to facilitate a square mounting of the fabric on the quilter.
\r\n
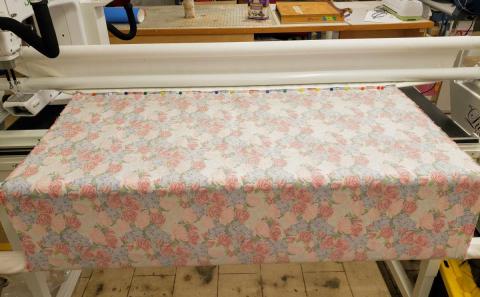
Mount the bottom fabric onto the quilting machine. When mounted you should see the WRONG side of the fabric. Remove any threads etc from the surface as they will show through if quilted in. Mount batting length. Ensure that it falls nicely over bottom fabric and baste it in place.
\r\n
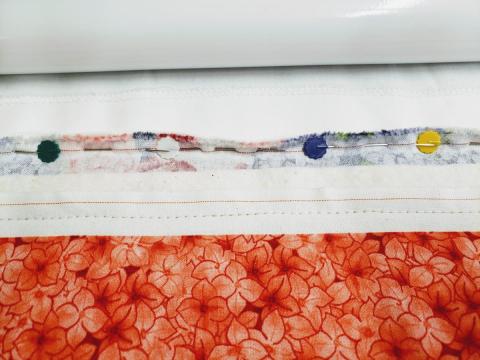
Place the batting and the top fabric over the bottom fabric while ensuring that they fall evenly over the other layers. Baste them all in place at the top.
\r\n
Draw a second horizontal line 14 inches down and then one more inch distal to that. The second line marks the top of the next two placemats. Repeat the next line 14 inches distal (4 mats), 1 inch
\r\n
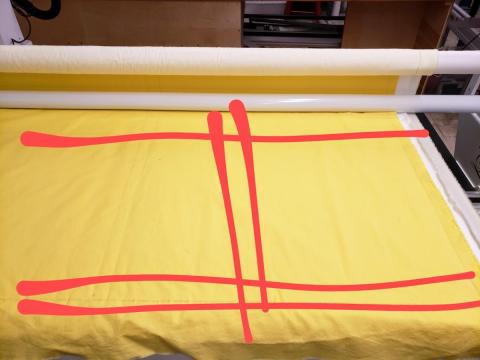
Vertically draw two lines: one 21 inches from each the left and the right fabric edges. There should be approx 1 inch between the vertical lines. Now you have two rectangles. Be sure that they both fit entirely on the quilt sandwich. The measurements do not need to be perfect as you will be trimming and squaring the mats later.
\r\n
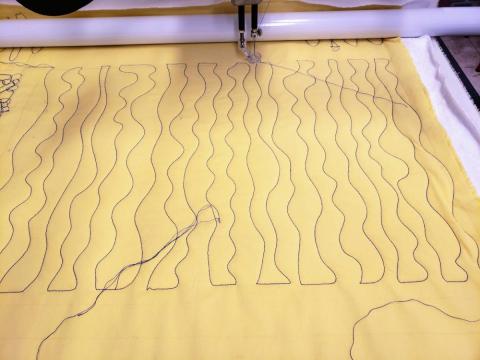
Select a freestyle pattern and go for it! There is not need to stay strictly within the lines as all edges will be trimmed later. Try cursive writing, single line patterns, using templates, meanderings, shadowing, zigzags, knit look, spirals. Consider texture as well as visual impact.
\r\n
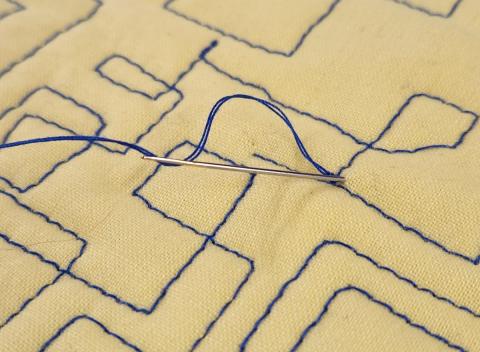
Pull loose threads to the back, Knot them, then use a hand sewing needle bury them into the batting.
\r\n
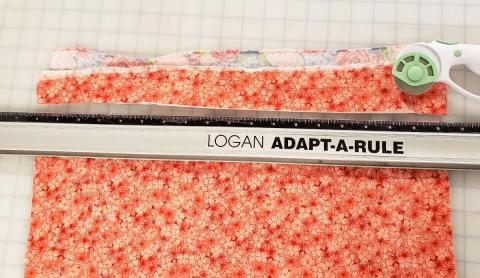
Using a straight edge and rolling knife, cut the first edge. Be sure to use the knife on the waste side of the fabric to avoid cutting into the mat itself.
\r\n
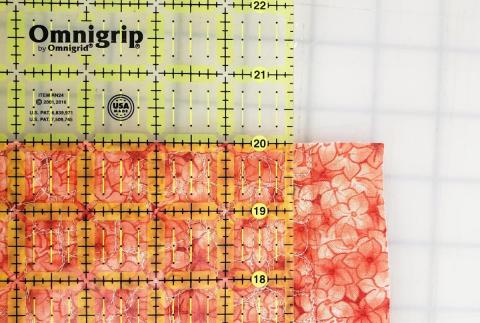
Align the straight edge ruler along the cut edge as closely as possible. Cut the second edge at a 90 degree angle.
\r\n
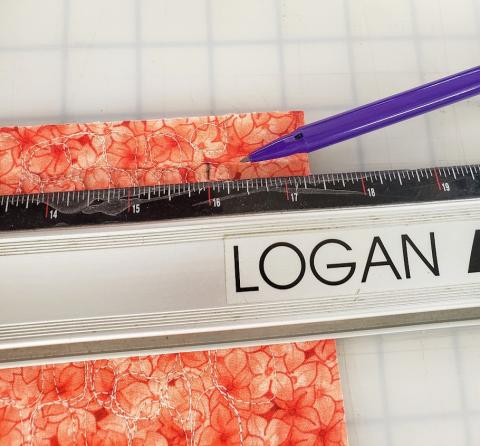
Measure each long side to 16 inches each. Using the straight edge ruler, square off the corner and cut the third edge.
\r\n
**If you are serging the edges, cut the long side to 16.5 inches --save the scaps to set the serger tension**
\r\n
Measure the short edges to 12 inches. Ensure equal length sides and square corners and cut.
\r\n
**If you are planning to serge the edges, the short sides should be 12.5 inches -- save the scraps to use to set the serger tension.**
\r\n
If you want to serge your edges, you will follow this step. Otherwise, skip ahead to Step 17 to use bias tape.
\r\n
You will be using 3 threads and only the left needle. Use regular serger thread in the left needle and lower looper. Put the decorative thread in the upper looper. Remove the right needle. Using the scraps of sandwiched mat, balance the tension. Instructions for this are in the manual.
\r\n
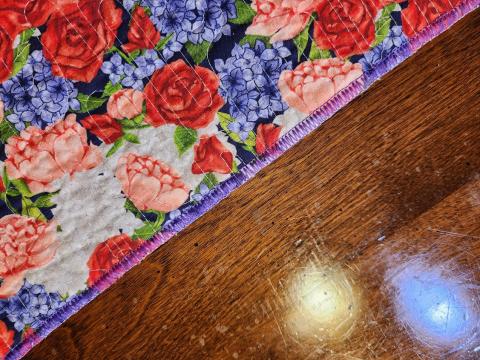
Serge down one edge cutting off approximately 1/4". Remove the piece from the serger and trim the tail to approx 2 inches. Turn the mat 90 degrees and cut the adjacent side. You will catch and cut the tail from the previous side as you go. Finish all four sides. Touch each corner lightly with Fray Block or similar. When dry, trim and tidy up. It is completed!
\r\n
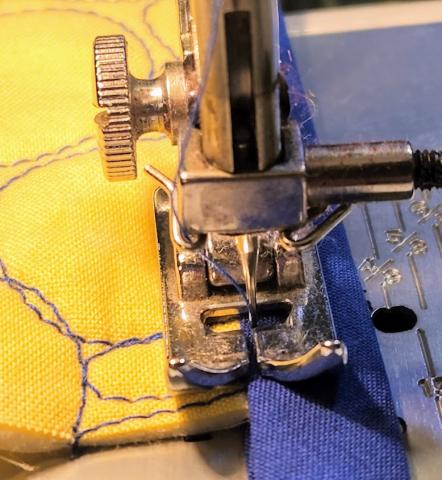
I prefer NOT to precut the bias tape length. Start 2-3 inches from a corner. Place the tape with the wider side on the BOTTOM of the edge. That way when you stitch along the top side, you will catch the bottom side without having to see it. Use your fingers to hold the tape in close to the edge and stitch to the next corner. Finish with the needle down at a 45 degree angle from the point.
\r\n
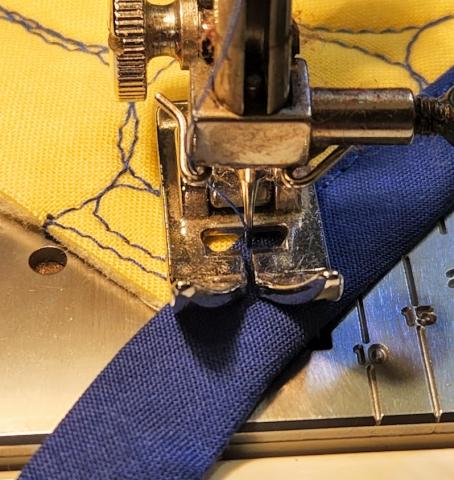
Lift the pressure foot to turn the mat. Stitch to the point. End with the needle down.
\r\n
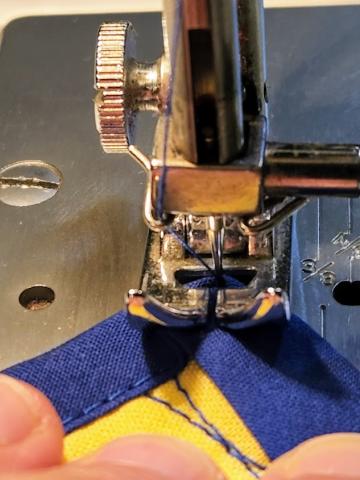
Turn the mat around 180 degrees. Carefully fold the bias tape on the top AND bottom. The tape should be snug against the next side and the folds should be 45 degree angles. Stitch back the way you came.
\r\n
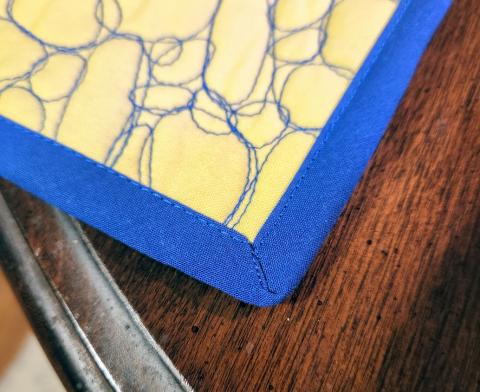
Continue like this to miter all four corners. There is just a few more inches left. Cut the bias tape about an inch longer than remaining distance. Fold the end over to hide the cut edge. Finish stitching and back tack. Tah-dah! Now go make a fabulous dinner!
\r\n
With a fabric marker and straight edge, draw a line 4-6 inches from the top across the fabric. Above this line is where you will stitch to adjust the tension of the threads. Do this now.
\r\n
Repeats steps 5-8 twice more to complete the remaining mats. Change your quilting pattern with each one.
\r\n
Remove the complete quilted experiment from the machine and lay it out on the cutting table.
\r\n