Lasercuter is recharged and functional, some alignment work may be necessary to get the best results at all spots in the printing area.
You must have the lasercutter badge to use the lasercuter.
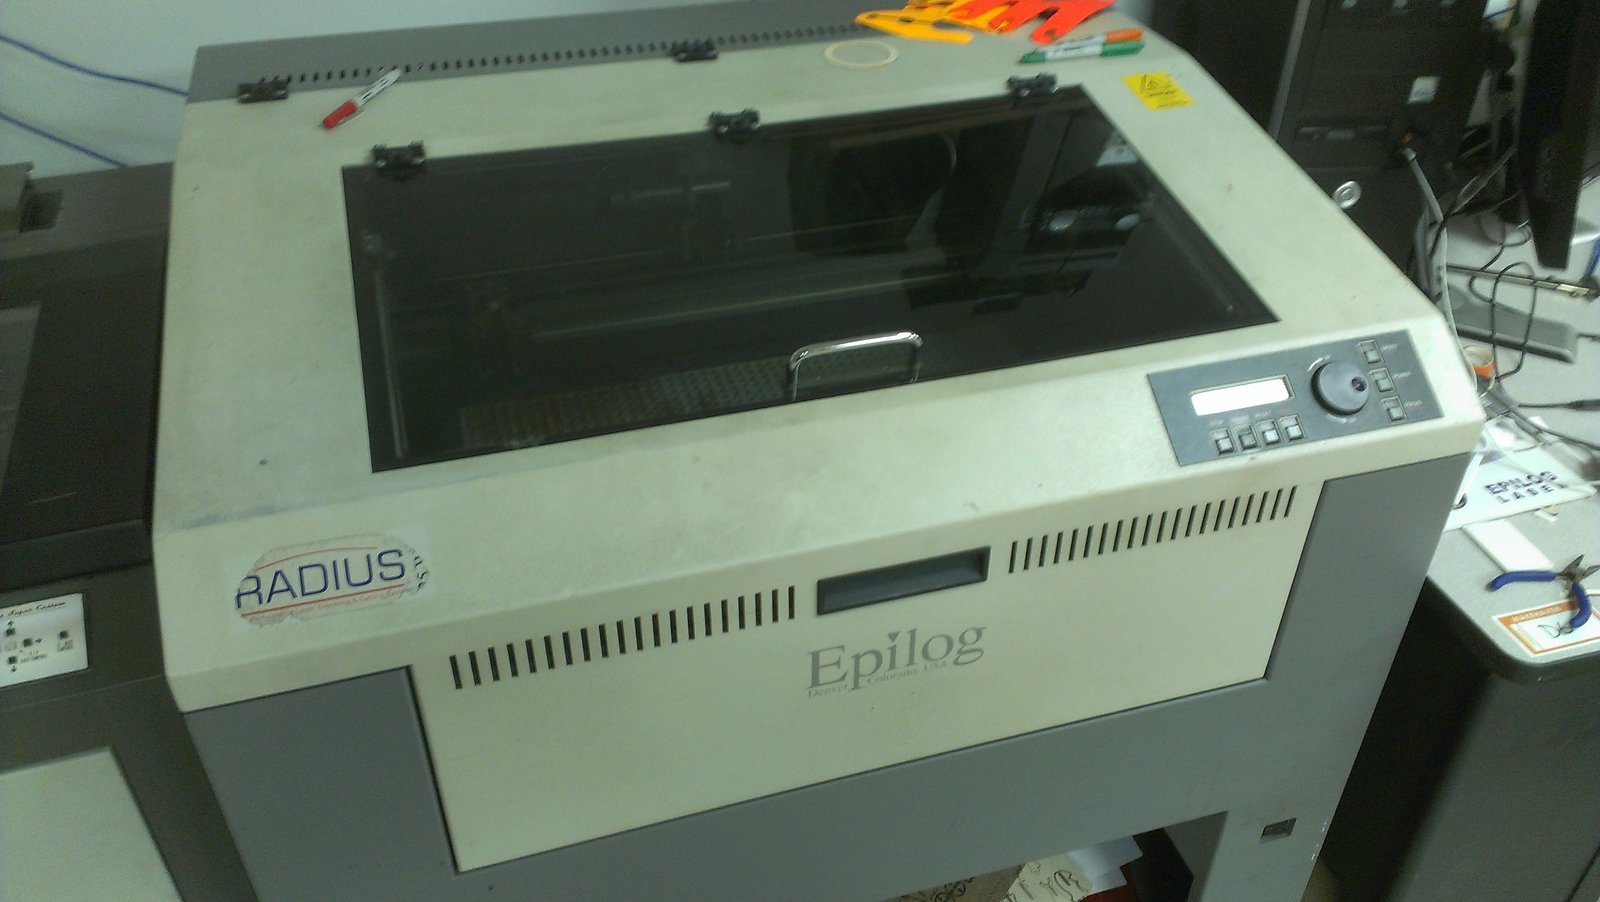
The lasercuter acts like a printer and uses a special printer driver that is installed on the computer connected to the cutter. Printer drivers for Windows can be downloaded at: https://www.epiloglaser.com/tech-support/radius-drivers.htm
There are two way to deliver instructions to the cutter. Raster or Vector. In each case the file must be printed from Corel Draw. Other programs seem to produce an error.
- Raster is a field of pixels and is good for drawing shaded images. This is drawn much like a regular printer moving from the top toward the bottom of the work.
- Vector is where the cutter follows the path of a line. This is used for cutting materials. For vector to work you must have a very thin line (otherwise it treats it like a raster). The best way to do this in Corel Draw is to make the line thickness "hairline"
In most cases people choose to create their work in another program such as Inkscape and then move it over to Corel Draw for printing with the lasercuter. In most cases this can by a simple cut and paste. Sometimes there will be issues and you can try the alternate method of opening the saved SVG file (remember to save it in generic, not Inkscape SVG).
You can download this template (To be added) for corel draw which give the layout of the printable area of the lasercuter. It will help you to place your item in the right location.
You must be careful to print only on approved materials. Choosing the wrong materials or even the wrong types of plastics could damage the cutter and lenses or be a health risk.
Tips: on identifying plastics. http://makezine.com/2011/09/22/identifying-unknown-plastics/
When you are almost ready to cut be sure to turn on the exaust fan (switch in the hallway going toward the basement).
Be sure to check the properties of the print job before you send it. This is where you set the laser power and turn on or off the autofocus setting. Typically it is better to use the autofocus tool (set the end of the head to the lower notch on the tool) than rely on the autofocus. Autofocus has failed occasionaly and rammed the build plate into the print head (not good). When you go to print a job, particularly if you have autofocus on, you should stand in front of the lasercutter and make sure it does not fail to focus. If you see the bed rise too high immediately turn the machine off with the power switch in the front.
Always stay with the lasercuter when in operation. Lasercuters do start fires.
If (and when) a small fire starts, stop the machine (it will stop if you open it) and smother or stomp out the fire. If this fails we have a special CO2 fire extinguisher mounted by the machine. This can be used without damaging the electronics. If you do use it, it will need to be recharged so make sure someone on the board knows to do that. If the CO2 extinguisher does not work you will be forced to use the chemical extinguisher. These will destroy the electronics but may be necessary.