3d Printer Station

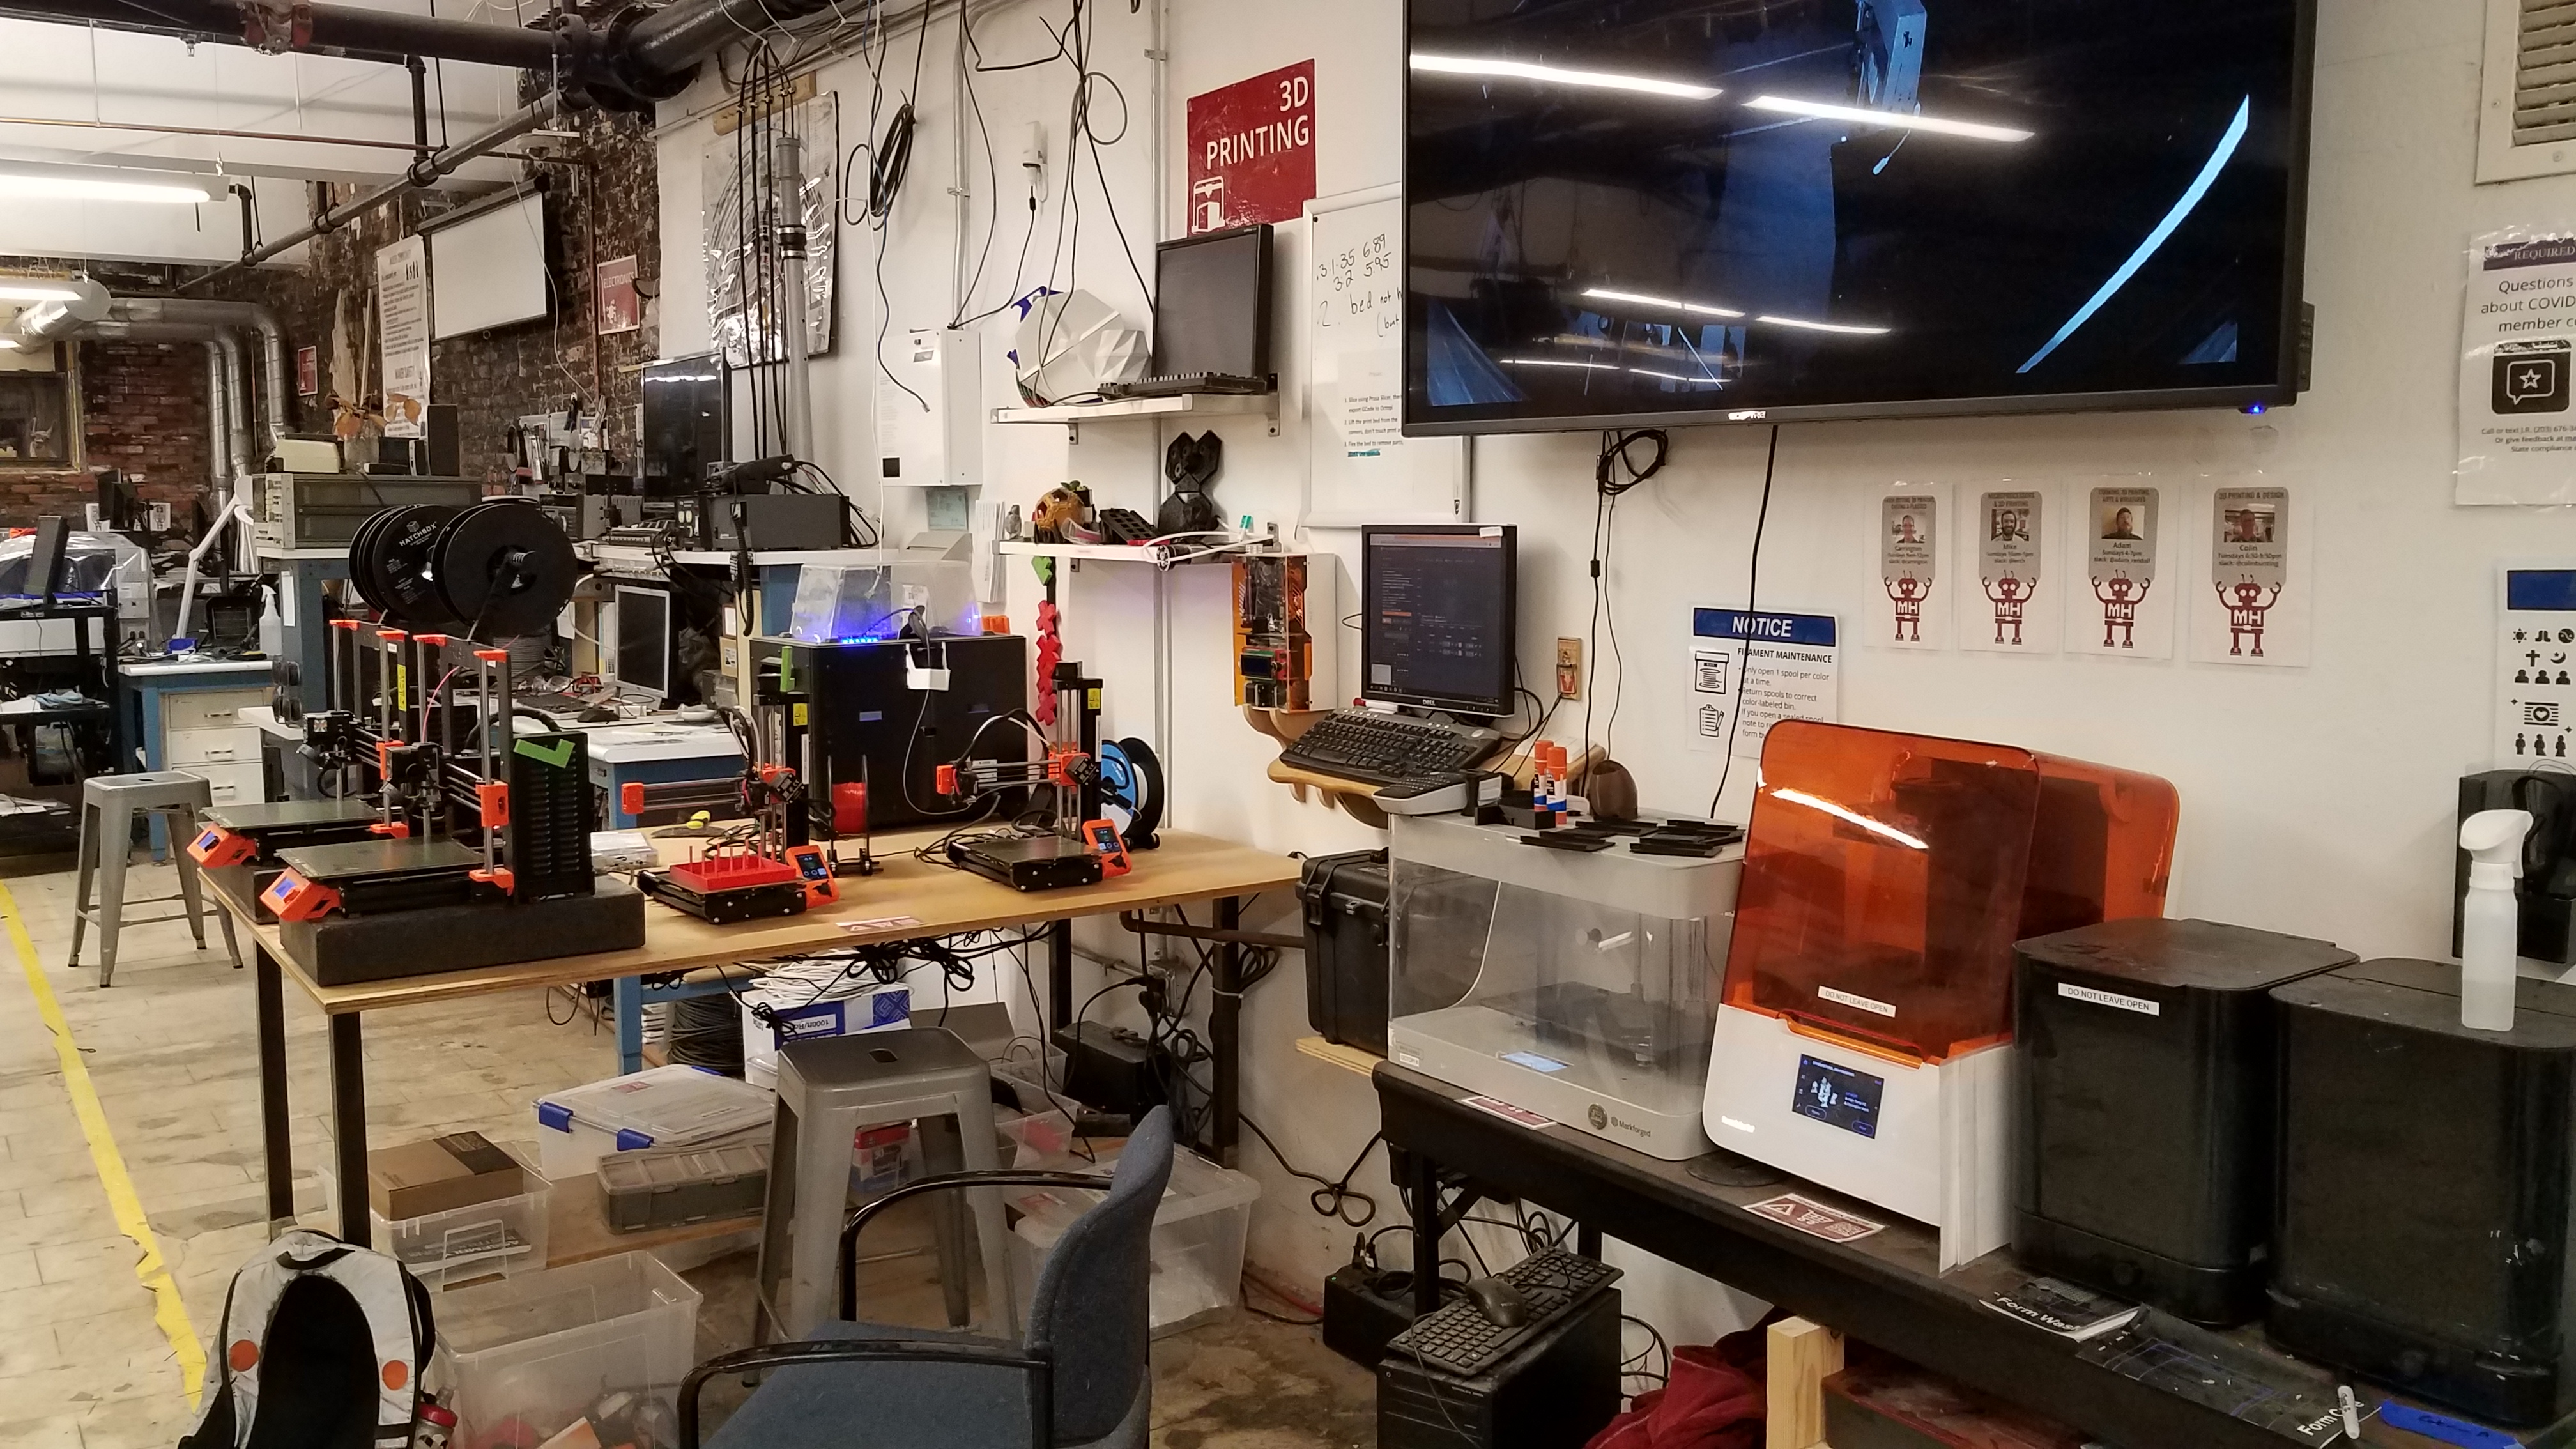
Computer station for 3d printing, running CNC and 3d scanning.


See your print live at: makehaven.org/3dprintercam

Requirements for Use
Required Badges: 

3D Printer

Completing this badge allows you to use the standard 3D printers such as the Prusa and Monoprice. Additional training is required for use of the Markforged and Form Labs 3D printers.


Check printer status here: https://makehaven.org/3dprintercam


Watch Video
Pass Quiz
In person checkout required
Facilitator Checkout
Estimated Minutes for Checkout: 
30 Minutes

Check Out With Facilitator

Community Facilitators are volunteers who to advise MakeHaven members on projects and show members how to use the tools.

Facilitator hours will be BY APPOINTMENT during their listed hours. To make an appointment, contact the facilitator directly via Slack. To prevent unnecessary space access during the pandemic, facilitators will not be in the space unless they have an appointment. Note that some facilitators are available only for online virtual appointments at this time. Any questions please email info@makehaven.org.

Community Facilitators are volunteers who to advise MakeHaven members on projects and show members how to use the tools.


Start Time When Member Photo Name / Activity Area
6:00PM Thursday Dec 7, 6:00pm to 9:00pm

Sean Bender

3D Printing


6:00PM Monday Dec 11, 6:00pm to 9:00pm

Tyler Young

3D Printing


6:30PM Tuesday Dec 12, 6:30pm to 9:30pm

Colin Bunting

3D Printing & Design


9:00PM Tuesday Dec 12, 9:00pm to Wednesday Dec 13, 12:00am

Darcy Canales

Late Night Badging: Multiple Popular Tools


Instructions for Use: 

There are several key pieces of software installed on this compter or bookmarked in the browser.

Flat Design

  • Inkscape - Vector design and editing
  • Gimp - Bitmap / Raster editing

3d Design

  • Blender - Editing complex 3d models
  • meshmixer- 3D mashups and remixes.
  • 123d Make - 123D Make lets you turn 3D models into 2D build plans with animated assembly instructions.
  • Tinkercad.com - Simple web based CAD tool.
  • 123D Design - a free, powerful, yet simple 3D creation and editing tool which supports many new 3D printers.
  • thingiverse.com- Directory of models to download
  • Meshlab - repair your broken 3d models

CNC

  • easel.com/ for Simple 3d  (Arduino is COM03)
  • PYCam - Complex Code
  • OpenScam - Preview your Gcode
  • Universal G Code Sender

3d VIewing

  • Oculus Rift - Various demos

3d Printing

  • MakerWare Desktop - 3d slicer for preparing your model for print

3d Scaning

  • 123d Catch - Users many images of object to construct a model
  • Skanect - apturing a full color 3D model of an object, a person or a room wiht Kinect
Location: 
Upstairs by 3d printers
Item Area Interest: 
Status: 
Associated Slack Channel : 
3d-printing

Materials for Sale

Custom text
3d Printer Filament PLA Track your usage in Octopi--once a project is printing, it will display the total meters of filament used. $0.10 per meter Add to cart

Related Projects

Related Resources

Open Tasks You Can Do.

Status Title Detail Posted
Get Octopi Logging User Names via Custom Plugin. We would like to get octopi to ask a username when print is clicked. This name should be logged. This can be used for follow-up, and checking if people are paying for prints. Eventually this might be updated to send a PayPal link, but for now just logging name is a start.
The task is to develop a custom plugin we can use to log names of users of the 3d printers when they go to print.
I was able to get part way but got stuck not being able to to get the JS file loading. Maybe a second set of eyes can figure it out.
I was able to install a local development version following this process:
Setting Up OctoPrint Development Environment
1. Clone OctoPrint Repository:

cd ~/devel

git clone https://github.com/OctoPrint/OctoPrint
2. Navigate to OctoPrint Folder:

cd OctoPrint
3. Create a Virtual Environment:

python3 -m venv venv
4. Activate the Virtual Environment:

source venv/bin/activate
5. Install OctoPrint and Dependencies:

pip install -e '.[develop,plugins]'
6. Check Installation:

octoprint --help
7. Start OctoPrint Server:

octoprint serve
8. Locate Plugin Directory:

Typically ~/.octoprint/plugins.
9. Place Your Plugin:

Put your plugin Python file and any assets (JS, CSS) in the plugin directory.
10. Restart OctoPrint Server:

Stop the running OctoPrint server with Ctrl+C and start it again with octoprint serve.
I was able to get a plugin to show up by adding a file called "user_name_popup.py"


import octoprint.plugin

import os

import datetime

import logging

class UserNamePopupPlugin(octoprint.plugin.AssetPlugin,

octoprint.plugin.TemplatePlugin,

octoprint.plugin.EventHandlerPlugin):

def __init__(self):

self._logger = logging.getLogger("octoprint.plugins.user_name_popup")

def get_assets(self):

return {

"js": ["user_name_popup.js"]

}

def get_template_configs(self):

return [

{

"type": "generic",

"name": "User Name Popup",

"custom_bindings": True

}

]

def on_event(self, event, payload):

if event == "PrintStarted":

user_name = payload.get("user_name", "Unknown")

file_name = os.path.basename(payload["file"])

self._logger.info(f"{datetime.datetime.now()}, {user_name}, {file_name}")

__plugin_name__ = "User Name Popup Plugin"

__plugin_pythoncompat__ = ">=2.7,<4,>=3.10,<3.11"

__plugin_implementation__ = UserNamePopupPlugin()


------ This now shows in the plugin manager.
and I added a js file (user_name_popup.js) that is aimed at doing the popup when the button is printed, but it does not seem to get loaded and I can figure out why. The file:


$(function() {

console.log("Name Popup Script loaded"); // Debug statement

if ($("#job_print").length === 0) {

console.log("#job_print element not found"); // Debug statement

}

$("#job_print").click(function() {

console.log("Button clicked"); // Debug statement

var user_name = prompt("Please enter your name:", "");

if (user_name) {

OctoPrint.simpleApiCommand("user_name_popup", "set_user_name", {user_name: user_name})

.done(function(response) {

console.log(response);

});

}

});

});

1 month 1 week ago