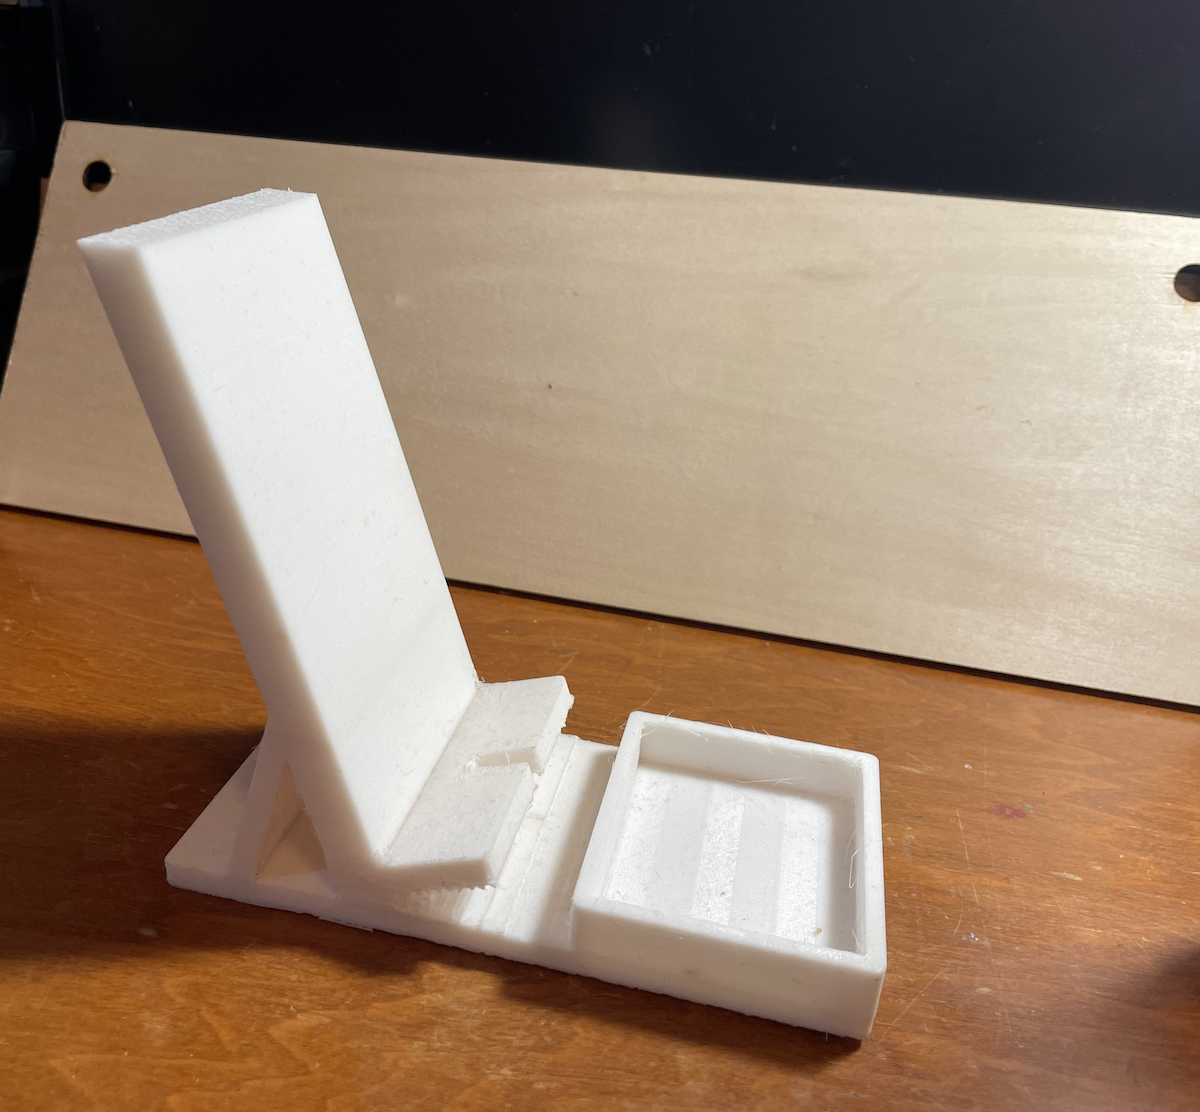
Make a 3D printed phone stand with a charging port and a small, front storage area!
Download the attached Solidworks file to make any modifications or adjustments to the stand dimensions or shape. To change any of the dimensions, double click on the part you want to modify and change the dimension. Make sure to save and export as a STL file after you're done modifying.
\r\n

Using the computer by the 3D printers, go to the Prusa Slicer desktop app.
\r\n

The stand might show up as very small on the build plate. To resize to the desired size, click on the object and under Object Manipulation on the right hand side, you can change the X, Y, Z size in millimeters.
\r\n
*Note* You will have to convert fron inches to mm with the dimensions from the attached Solidworks file. For this, I oriented the stand into its upright position and input 158.75 mm for the X size (which matches the size in inches from the Solidworks file). Once you adjust one coordinate, the others should automatically resize too.
\r\n

By clicking, dragging, and using the rotate options on the left hand size of the screen, you can shift and move the stand to fit within the size of the printing area.
\r\n
When you click on the stand, the right hand size should show many print settings. Make sure that under Printer you have selected the printer you'll be printing on.
\r\n
You can also choose the amount of infill (amount of material that will fill inside of the object) as well as if you want any support material for the print. I have found that while support material can help stabliize your print, it is a bit difficult to detach after the print.
\r\n

Once you are satisfied with the print settings, click "Slice Now". This should show how much filament will be used and the duration of the print. Then click "Export G-code."
\r\n
For printing, find and download (if needed) the STL file.
\r\n
Find your STL file and upload it onto the Prusa Slicer.
\r\n
Open the Octopi site correpsonding to the printer you are using and import the G-code file.
\r\n
Once you are satisfied with all of the settings, click the print button next to your file to start printing.
\r\n