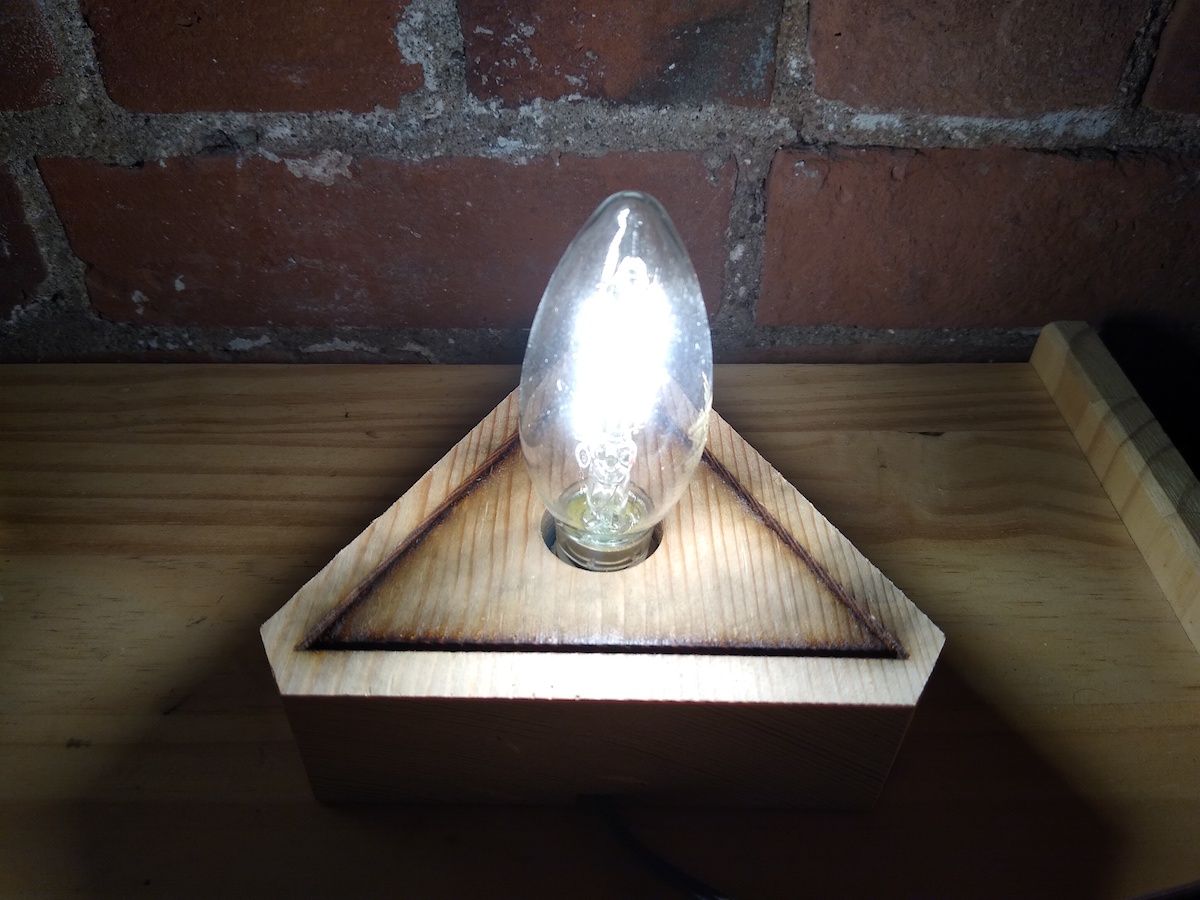
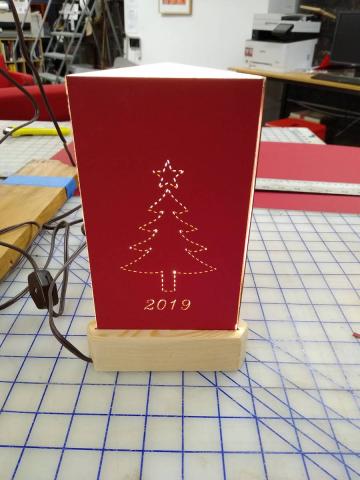
This is a cute desk/bedside lamp with an optional laser engraved shade made using a stippling type pattern. It's extremely inexpensive and fairly quick to fabricate. It makes a great gift, especially due to its interchangeable press-fit shade: you can give the base along with one shade as a gift, and then add to it by gifting new shades for other occasions. Depending on the wood/finish and the bulb brightness you choose, it can also look pretty nice without a shade.
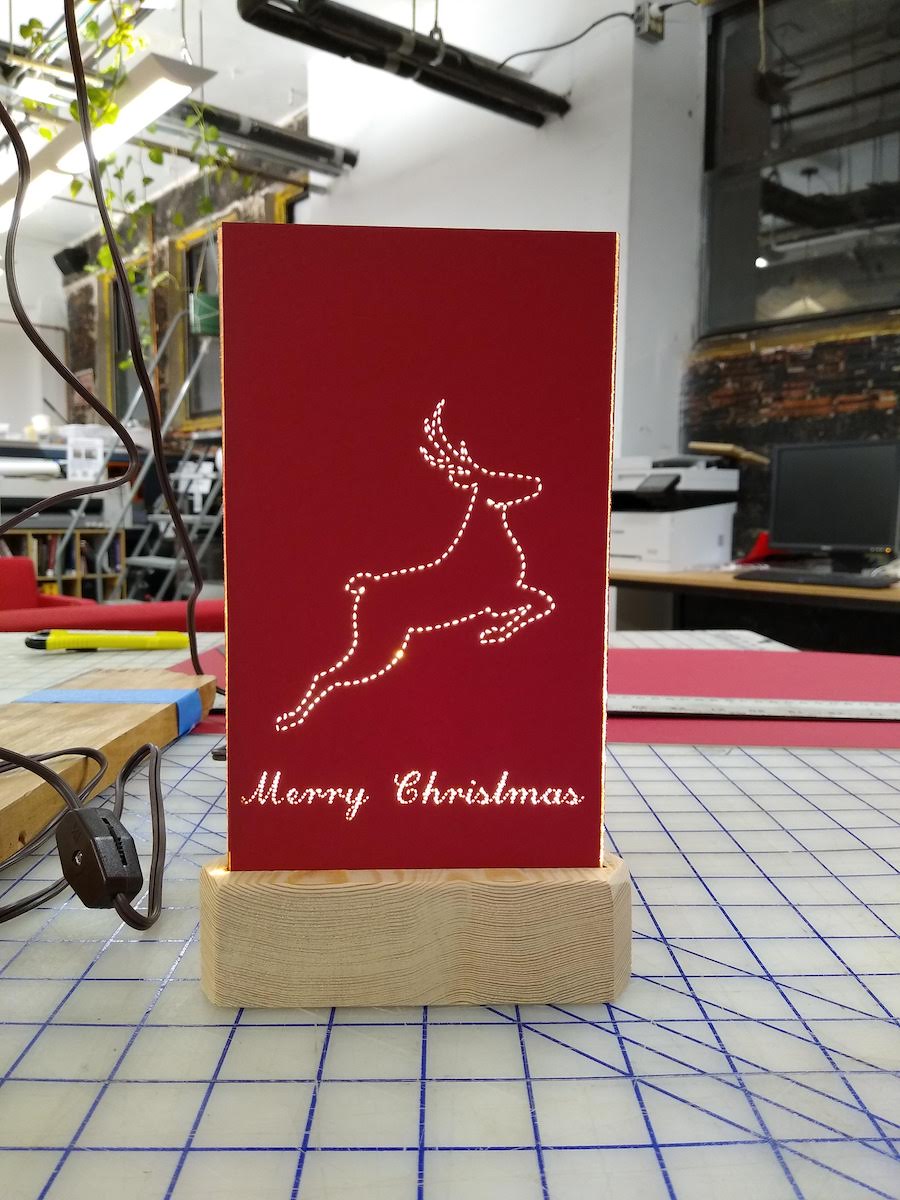
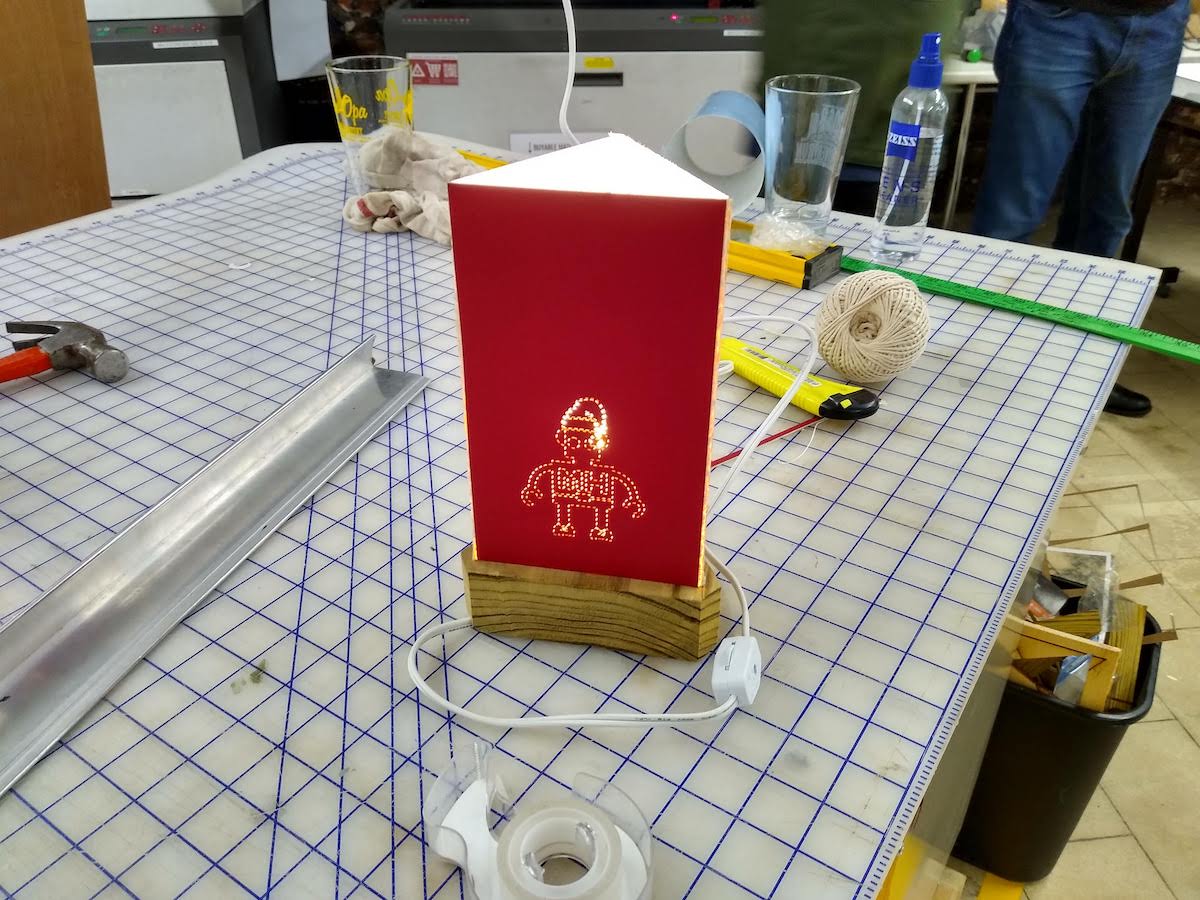

If you're making a shade, you will want to end up with a folding 3-panel piece of matboard, 323mm x 180mm. In Inkscape, open shade-template.svg from the Project Resources for a template. Each panel has a working area of 3.75" x 4.75" (roughly): in the template file I've provided, I recommend adding horizontal guides at y=294 and y=407. Your design can extend a little lower on the matboard and a lot higher, but if you go too low you start to crowd the base, and if you go too high the light doesn't shine through the upper part of the design evenly. Save your file, with new designs added, as an SVG.
\r\n

The file I've provided in Project Resources (lamp-triangles-vector.svg) engraves two lamp bases fairly quickly, using nested vectors instead of rasters for the thicker lines. They're positioned in a 12" rectangle, but you can (and maybe should) place them farther apart for ease of cutting later (I recommend placing the triangles at opposite ends of an 18" piece -- see Cut step for reasoning), and of course you can just do a single one at a time if you prefer.
\r\n
\r\n
The red lines are guides for cutting (see next step). The black lines are the groove that your matboard will fit into. Because it's intended to be a press fit, and because the final thickness and depth of the engrave lines are highly dependent on the type of wood / how the laser is feeling today, I recommend setting up the piece on the laser such that it's easy to put back in place (top left corner against both edges is always good!), and checking for fit with a small piece of matboard as soon as you've done the initial cut. (You may find that you have to add a few black triangles.)
\r\n
\r\n
Both colors can be run as Vectors (in Inkscape: Extensions --> Export --> Win32 Vector Print), at Power = 80%, Speed = 30%, and PPI = 500. (Though, again, these settings may need to be adjusted based on other factors.) Green (and all other colors) should be set to Skip.
\r\n
")
Using a 1" Forstner bit (or the diameter of the socket in your cord kit!), the drill press, and the tiny center dot made in the laser engraving process as a guide, put a hole all the way through the center of each lamp design.
\r\n

Using a 1/4" straight cut bit on the router table (or at least the width of your cord kit's cord), cut a channel of .125" (or at least the depth of your cord kit's cord), starting in the center hole you've just cut and working out toward a corner or edge. (Use the fence.) I've tried routing the channel to corners and edges, and found that I prefer the look of the cord coming out of the corner.
\r\n
")
Pick your favorite saw! Then, using the guides from the laser engraving, cut out the shape of the lamp base. I personally like the miter saw because it's quick, but it's also dirty. With the angles we've chosen, there's really no way to press the piece against the fence; depending on the length of the piece of wood you've chosen, it will probably be impossible to clamp the piece and your fingers might even end up uncomfortably close to the blade. I've added my preferred miter saw cut order to this image, but note that the final cut (#6) is best done on a table saw to lower the risk of error. You'll notice that #4 and #5 extend well beyond the edge of the shape -- that's to account for the rounded shape of the saw, as I did not want to bring it down farther than I had to.
\r\n
\r\n
At this point you can also do any sanding/finishing that you'd like to your lamp base.
\r\n

If your cord kit's "pigtails" protrude beyond a 1" diameter circle you will want to bend or snip them so the whole thing can press fit in nicely. I use straight cut tin snips (yellow handle) to trim off the edges.
\r\n

Using a rubber mallet, press fit the cord kit into the hole until it's flush with the bottom of the lamp base. Pay attention to the orientation of the cord and try to press the assembly in such that the cord is least likely to bend/kink: because the lamp is light, bends/kinks can push the base upward in an unattractive way. The mallet is important because if you try to push the central portion of the lamp socket in with your fingers, it may separate from the pigtails, leading to a loose fit.
\r\n
\r\n
(Note: This image shows the cord channel orientation I don't recommend. I think that routing from the center to the corner tends to look more unobtrusive.)
\r\n

- \r\n
- In Inkscape, open your modified version of shade-template.svg from the Project Resources (with your own designs added on each panel).
- Make sure all lines are paths (Object --> Path just to be sure!), all paths are ungrouped, and all lines are set to Fill = none, and Stroke Width = .2px.
- With the art paths selected, in the Stroke Style tab choose the longest type of dash under "Dashes." Then go to Extensions --> Modify Path --> Convert to Dashes.
\r\n
\r\n
\r\n
\r\n
\r\n
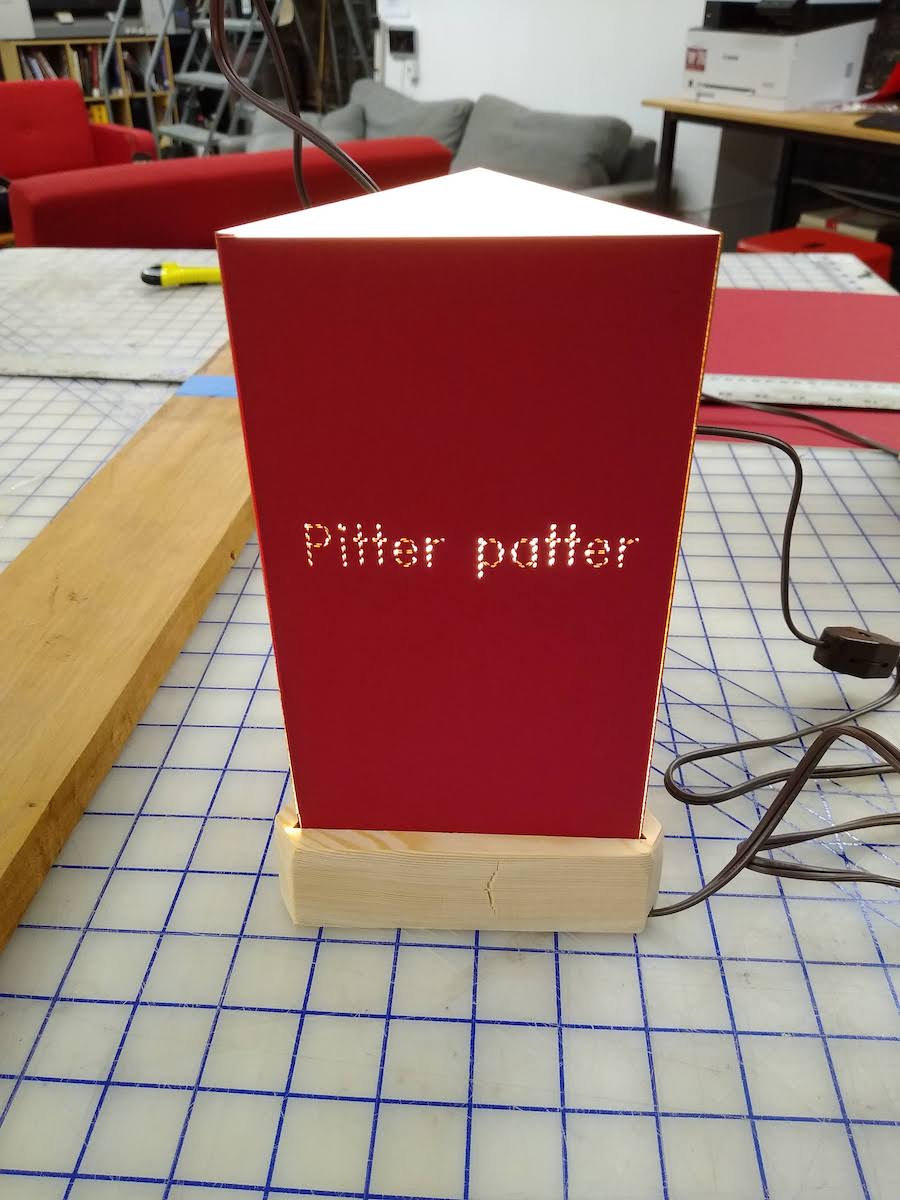
Cutting -- and in particular, scoring -- is more an art than a science. Your goal here is for the cut lines (black / outer edges of the box) to punch all the way through without burning the edges more than necessary, and for the score lines (blue) to punch through almost the entire thickness of the matboard -- too much and the panels will fall apart, too little and the paper will tear when folding in a mushy and somewhat unattractive way. (Pictured: a cautionary tale.) Because scoring is the hardest, I've included some recommended settings, but I strongly recommend experimenting with scrap pieces on your own. I noticed that different colors of matboard seemed to score differently, so I've included the two that I've used:
\r\n
- \r\n
- Scoring black matboard: Power = 30%, Speed = 10%, PPI = 200
- Scoring red matboard: Power = 55%, Speed = 20%, PPI = 200
- Cutting matboard (any color): Power = 25%, Speed = 4%, PPI = 200
\r\n
\r\n
\r\n
\r\n
You can use the "cutting" settings for your dashed-line design as well, but you may need to tweak them if you feel like the lines are coming out too thin/thick.
\r\n
\r\n
I strongly recommend doing the design & scoring first, followed by the cut lines, just to avoid your matboard falling/bending/moving before you're done with it.
\r\n
Fold the shade into thirds, press fit it into the groove in your lamp base, glue or tape the tab to the back of its adjacent panel... and you're all done! Congratulations!
\r\n
You will need:
\r\n
- \r\n
- A piece of any hardwood or softwood, minimum dimensions 5.5" x 4.5" x 1.125". It is easiest & safest to handle pieces 18" long or more, and you will not want your final thickness to affect your ability to screw your bulb into your cord kit (see below), so keep that in mind when selecting a piece.
- A piece of 1/20" (.0475") matboard, minimum area 13" x 7.5". MakeHaven has a ton of these, and they are also available at Artist & Craftsman (walk all the way to the back) for $9.50 per 40"x32" sheet.
- A switchable cord kit for a candelabra style bulb, with a "pigtail" style clip. You can pick these up from Amazon, Home Depot, WalMart, etc.
- A 25W or 40W equivalent LED B11 / candelabra style bulb (recommended temperature: soft white). 25W options are available from Home Depot, e.g. here and here, as are 40W. For a plain base only, I would go 25W (or even less -- I might try 15W next); if you're planning to add a shade, I would go with 40W.
- Hand tools you will need:\r\n
- straight edge
- razor blade
- calipers
- straight cut tin snips (yellow handle)
- mallet
\r\n
\r\n
\r\n
\r\n
- \r\n
\r\n
\r\n
\r\n
\r\n
\r\n
\r\n
\r\n
\r\n
Check the size of your cord kit, and screw your bulb into the kit to see how much vertical space you have to work with before the bulb widens. I like 1.5" thickness, but with the cord kits I have, I could probably go anywhere in the 1.125"-1.675" range.
\r\n